Introduction
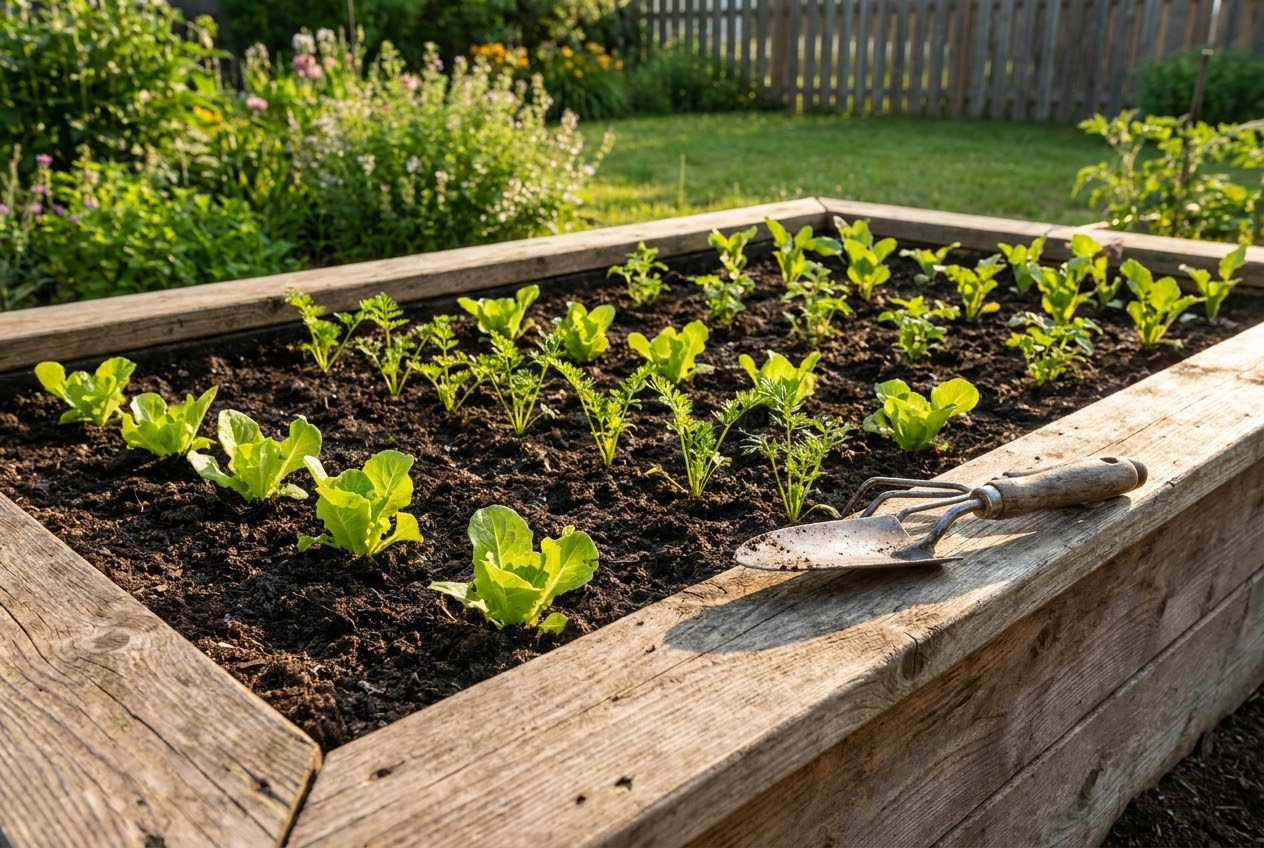
If you have ever struggled with rocky soil, poor drainage, persistent weeds, or aching knees after a day in the garden, raised bed gardening might be the solution you have been looking for. Raised beds have surged in popularity over the past two decades, and for good reason. They offer a level of control over growing conditions that is simply not possible with traditional in-ground gardens, and they look beautiful doing it.
A raised bed is exactly what it sounds like: a planting area built above the natural ground level, contained within a frame, and filled with high-quality soil. The concept is simple, but the benefits are profound. Better drainage, fewer weeds, warmer soil in spring, easier access, and complete control over soil composition are just the beginning. Whether you are a first-time gardener or a seasoned grower looking to upgrade your setup, raised beds deserve serious consideration.
This guide covers everything you need to know: the benefits of raised bed gardening, how to choose the right materials, step-by-step building instructions, the perfect soil mix recipe, planting strategies, and long-term maintenance. By the time you finish reading, you will be ready to build your first raised bed and start growing in the best soil you have ever had.
Benefits of Raised Bed Gardening
Superior Drainage
One of the most significant advantages of raised beds is drainage. Waterlogged soil is the enemy of healthy roots. In a raised bed, excess water drains freely through the bottom, preventing the waterlogging that plagues many in-ground gardens, especially those with heavy clay soil. This is particularly valuable in regions with heavy spring rains or if your yard sits on clay or compacted subsoil. If you have been dealing with drainage issues in your current garden, our guide on improving clay soil offers additional solutions.
Complete Soil Control
When you fill a raised bed, you are creating the soil from scratch. You choose the composition, the nutrient content, the organic matter, and the pH. No more fighting with the heavy clay, sandy fill, or nutrient-depleted soil that your property happens to sit on. You can tailor the soil mix to the specific crops you plan to grow. This is especially valuable if you are starting a vegetable garden from scratch and your native soil is less than ideal.
Extended Growing Season
Raised beds warm up faster in spring because they are elevated above the cold ground and have better air circulation around the soil mass. In many climates, raised beds can be planted two to four weeks earlier than in-ground beds. The soil also stays warmer into fall, extending the harvest season at both ends. For gardeners in northern climates with short growing seasons, this is a game-changer.
Reduced Weed Pressure
By filling your raised bed with clean, weed-free soil mix, you start with a massive head start against weeds. The elevated height also means fewer weed seeds blow in from surrounding areas, and the defined borders make it easy to spot and remove any weeds that do appear. Adding a layer of mulch on top further suppresses weeds. Our article on the benefits of mulching explains how this works in detail.
Ergonomic Access
Raised beds reduce the amount of bending, kneeling, and stooping required to tend your garden. A bed that is 18 to 24 inches tall allows most people to garden while standing or sitting on the edge. This is a huge benefit for anyone with back pain, knee problems, or mobility limitations. Even for young, healthy gardeners, the reduced strain makes daily garden tasks more comfortable and enjoyable.
Better Root Development
In a raised bed, roots grow down into loose, uncompacted soil without hitting hardpan or rocky subsoil. This allows plants to develop deeper, more extensive root systems, which makes them more drought-resistant and better able to absorb nutrients. The result is healthier, more productive plants.
Pest and Animal Control
Raised beds make it easier to install physical barriers against pests. Hardware cloth (wire mesh) laid under the bed prevents burrowing animals like gophers and moles from reaching your crops. The elevated sides deter rabbits and groundhogs. Adding a simple frame of PVC hoops over the bed makes it easy to drape netting against birds or row cover fabric against insects.
Choosing Materials for Your Raised Bed
The frame is the backbone of your raised bed. The material you choose affects cost, durability, appearance, and safety. Here is a comparison of the most common options.
Material Comparison
| Material | Lifespan | Cost | Pros | Cons |
|---|---|---|---|---|
| Cedar | 15-20 years | High | Naturally rot-resistant, beautiful, no chemical treatment needed | Expensive, may be hard to find in some regions |
| Pine | 5-7 years | Low | Inexpensive, widely available, easy to work with | Rots faster, needs replacement sooner |
| Metal (galvanized steel) | 20+ years | Medium-High | Extremely durable, modern look, no rot or insects | Heats up in sun, can be sharp, limited sizes |
| Stone or brick | 50+ years | High | Permanent, beautiful, excellent insulation | Expensive, heavy, difficult to move, requires masonry skills |
| Concrete blocks | 30+ years | Low-Medium | Durable, inexpensive, easy to stack, can plant in holes | Industrial look, may raise soil pH over time |
| Recycled composite | 20+ years | Medium | Made from recycled materials, rot-resistant, low maintenance | Less natural look, may contain chemicals |
Avoid Treated Wood
Pressure-treated lumber was historically treated with chromated copper arsenate (CCA), which leaches arsenic into the soil. Modern pressure-treated wood uses safer copper-based compounds (ACQ or CA-B), but many gardeners still prefer to avoid it for edible gardens. If you want to use pressure-treated wood, line the inside of the bed with heavy plastic sheeting to create a barrier between the wood and the soil. Never use railroad ties or creosote-treated wood near food crops.
Sizing Your Raised Bed
Width
The golden rule for raised bed width is this: you should be able to reach the center of the bed from either side without stepping on the soil. For most people, that means a maximum width of four feet. If the bed is accessible from only one side (against a wall or fence), limit the width to two feet. Compacted soil from foot traffic defeats one of the main advantages of raised beds.
Length
Length is flexible and depends on your available space. Common lengths are four, eight, or twelve feet. Longer beds may need internal cross-bracing every four to six feet to prevent the sides from bowing outward under the weight of the soil. Eight-foot beds are a popular choice because standard lumber comes in eight-foot lengths, minimizing cuts and waste.
Height
Height is one of the most important dimensions and is often underestimated. A minimum depth of six inches is needed for shallow-rooted crops like lettuce and herbs. For most vegetables, including tomatoes, peppers, and root crops, twelve inches is better. For maximum comfort and root space, eighteen to twenty-four inches is ideal. Taller beds also provide better ergonomic access and can double as seating edges.
Choosing the Right Location
The same principles that apply to any vegetable garden apply to raised beds. Sunlight is the most critical factor. Most vegetables need at least six to eight hours of direct sunlight per day. Place your beds in the sunniest part of your yard, avoiding shade from trees, buildings, and fences.
Orient rectangular beds with the long side facing south to maximize sun exposure for all plants. If you are growing tall crops like tomatoes or trellised beans, place them on the north end of the bed so they do not shade shorter plants.
Level ground is important. A bed that is not level will drain unevenly, with one end too wet and the other too dry. Minor slopes can be shimmed with soil or gravel under the low end. For significant slopes, consider terracing rather than building on a steep grade.
Proximity to a water source is also important. Raised beds drain well, which is a benefit, but it also means they may need more frequent watering than in-ground beds during hot weather. Position beds within reach of a hose or consider installing a simple drip irrigation system.
Step-by-Step: Building a Raised Bed
Here is how to build a basic 4-by-8-foot raised bed from cedar or pine lumber.
Materials Needed
- Four 2-by-12-inch boards, eight feet long (for the long sides and short sides)
- Four 4-by-4-inch posts, 12 inches long (for the corner supports)
- 3-inch deck screws (galvanized or coated, about 24 screws)
- Hardware cloth or landscape fabric (optional, for the bottom)
- Cardboard (for weed suppression at the bottom)
Assembly Instructions
- Cut the boards to length. Leave two boards at eight feet for the long sides. Cut two boards to four feet for the short sides. Cut the four 4-by-4 corner posts to twelve inches each.
- Assemble the frame. Stand one long board on its edge. Position a corner post at each end, flush with the top and outside edge. Drive three deck screws through the board into the post. Repeat for the other long board.
- Attach the short sides. Stand the two long-side assemblies parallel, four feet apart. Attach the short boards between them at each end, driving screws through the short boards into the corner posts. You now have a rectangular frame.
- Check for square. Measure diagonally from corner to corner. Both measurements should be equal. Adjust as needed before the screws are fully tightened.
- Prepare the ground. Lay cardboard over the ground inside the frame. This smothers existing grass and weeds without chemicals. Wet the cardboard thoroughly.
- Add hardware cloth (optional). If burrowing pests are a concern, staple hardware cloth to the bottom of the frame before setting it in place.
- Position the bed. Place the frame over the prepared ground. Check that it is level. Shim with soil or gravel if needed.
- Fill with soil mix. See the soil recipe below. Fill to within two inches of the top to allow room for mulch and watering.
The Perfect Raised Bed Soil Mix
Filling a raised bed with the right soil mix is the most important investment you will make. Cheap fill dirt will give you cheap results. A well-blended mix provides the foundation for years of productive growing.
The Classic "Mel's Mix" Inspired Recipe
| Component | Proportion | Purpose |
|---|---|---|
| Topsoil or garden soil | 1/3 | Provides bulk, minerals, and structure |
| Compost (finished) | 1/3 | Feeds plants with nutrients and beneficial microorganisms |
| Aeration material (perlite, vermiculite, or coarse sand) | 1/3 | Ensures drainage and prevents compaction |
This equal-parts recipe creates a light, fertile, well-draining mix that most vegetables thrive in. For a 4-by-8-foot bed that is twelve inches deep, you need approximately one cubic yard of each component (about 32 cubic feet total). Many garden centers sell pre-blended raised bed mix by the cubic yard, which is convenient but more expensive than mixing your own.
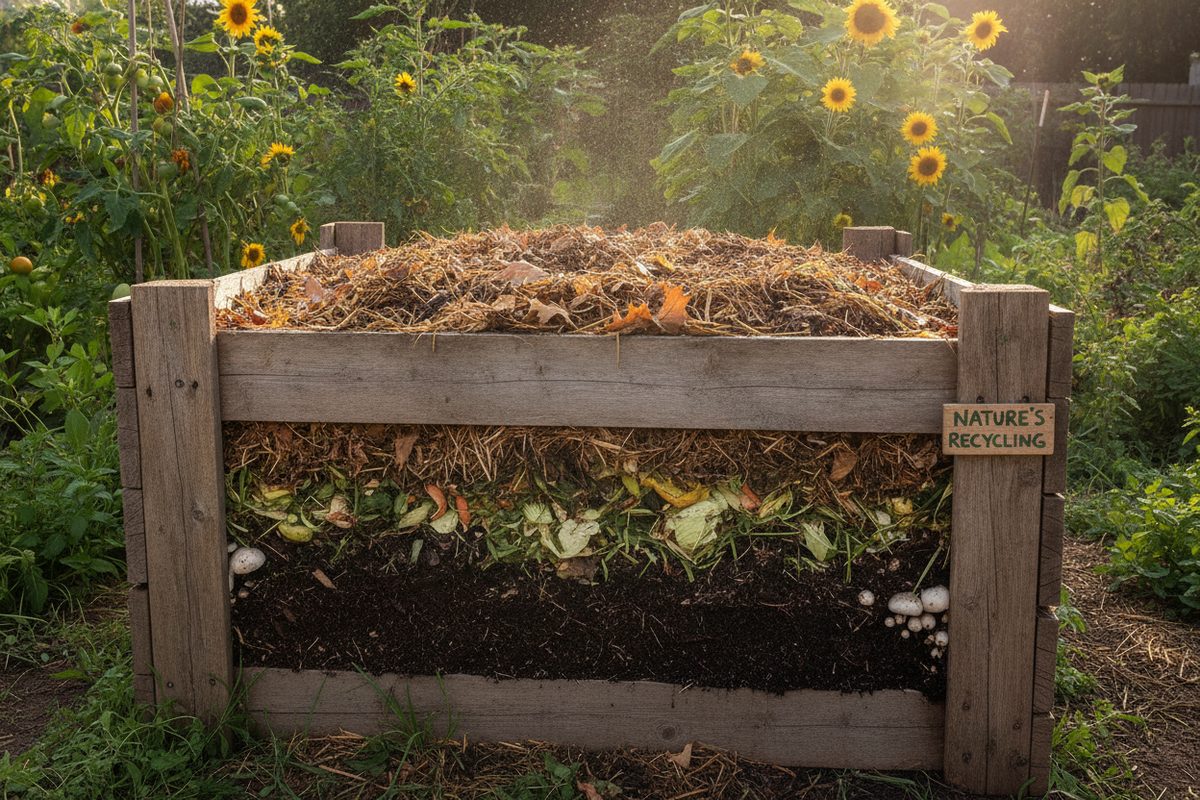
If you are making your own compost, this is where all that effort pays off. Our guide on composting at home will help you produce the highest quality compost for your beds.
Additional Amendments
Beyond the basic recipe, consider adding these amendments to your soil mix:
- Aged manure (composted chicken, horse, or cow) for extra nitrogen
- Worm castings for a concentrated dose of nutrients and beneficial microbes
- Bone meal for phosphorus, which supports root development and flowering
- Kelp meal for trace minerals and natural growth hormones
- Agricultural lime if your soil test indicates pH is below 6.0
Before adding amendments, test your soil with a basic kit or send a sample to your local extension office. Our soil testing and amendment guide explains how to interpret results and choose the right corrections.
Planting Strategies for Raised Beds
Raised beds lend themselves to planting strategies that maximize yield from limited space.
Square Foot Gardening
Instead of rows, divide your raised bed into one-foot squares using a grid of string or thin wood strips. Each square holds a specific number of plants depending on their size: sixteen plants per square for small crops like radishes, nine for medium crops like bush beans, one per square for large plants like tomatoes. This system eliminates wasted space between rows and makes planning intuitive.
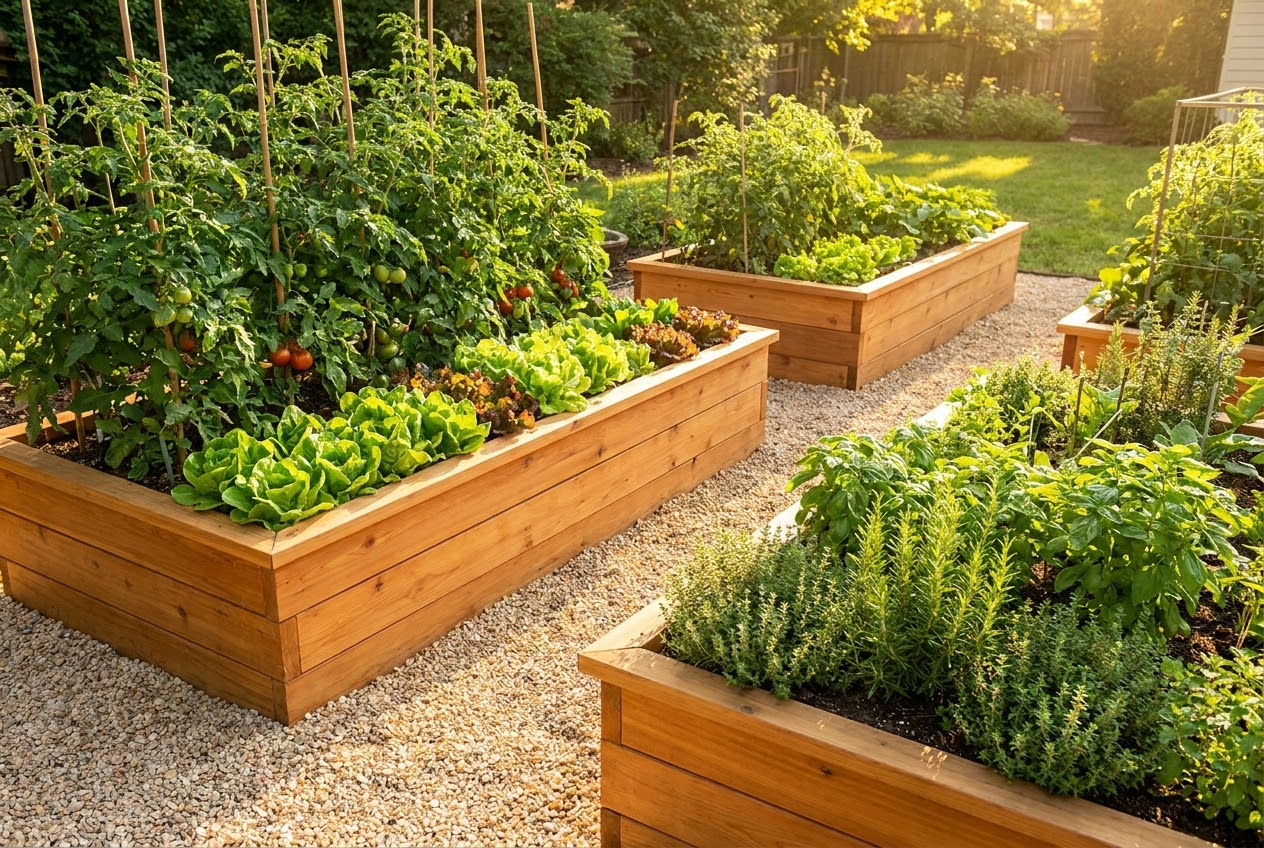
Intensive Planting
In raised beds, plants can be spaced closer together than in row gardens because there is no need to leave pathways between rows. The foliage of closely spaced plants creates a living mulch that shades the soil, retains moisture, and suppresses weeds. This technique, sometimes called "bio-intensive" planting, can increase yields by 50 percent or more compared to traditional row planting.
Succession Planting
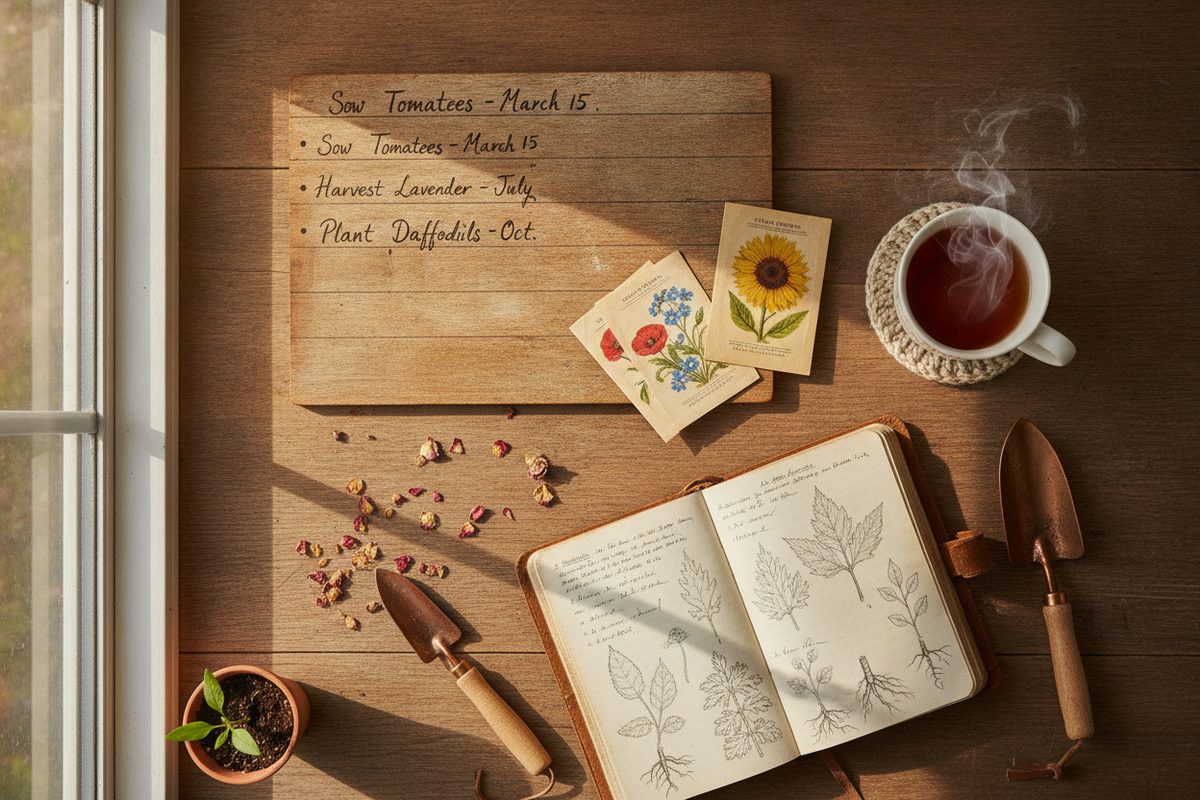
Do not let space sit empty. As soon as one crop is harvested, plant another. After early spring lettuce is done, replace it with summer beans. After beans, plant fall kale. In a raised bed with good soil, you can often get three or four crops from the same space in a single season. Our seasonal garden planning guide provides a month-by-month planting calendar that works perfectly with succession planting.
Vertical Growing
Raised beds are excellent platforms for vertical growing. Install a trellis, cattle panel arch, or tomato cage at one end of the bed and grow vining crops upward. Cucumbers, pole beans, peas, small melons, and even some squash varieties climb readily. Vertical growing saves ground space and improves air circulation around the plants, reducing disease pressure. For more vertical ideas, check out our guide on vertical gardening for small yards.
Maintaining Your Raised Beds
Annual Soil Replenishment
Each year, your raised bed soil settles and nutrients are depleted by plant growth. In spring, top off the bed with two to three inches of fresh compost and mix it into the top few inches of soil. This replaces organic matter, adds nutrients, and refreshes the soil structure. Every two to three years, consider doing a more thorough soil test and amending accordingly.
Mulching
Apply a two-inch layer of organic mulch, such as straw, shredded leaves, or wood chips, on top of the soil after planting. Mulch retains moisture, suppresses weeds, and moderates soil temperature. As it breaks down, it adds organic matter to the soil. Refresh mulch as needed throughout the season.
Watering Considerations
Raised beds drain faster than in-ground beds, which means they may need more frequent watering, especially during hot, dry weather. Drip irrigation on a timer is the most efficient approach. It delivers water directly to the root zone with minimal evaporation and no wet foliage to invite disease. Combine drip irrigation with rainwater harvesting for the ultimate water-efficient setup.
Winter Care
In fall, remove spent plants and add a thick layer of compost or shredded leaves to protect the soil over winter. Plant a cover crop like winter rye or crimson clover to prevent erosion and add nitrogen. In spring, simply turn the cover crop into the soil a few weeks before planting. This practice keeps your raised bed soil healthy and productive year after year.
Wood Frame Longevity
Wooden frames will eventually rot, but you can extend their life. Line the inside walls with landscape fabric to reduce soil contact. Apply a natural wood oil or linseed finish to the outside. Replace boards as they deteriorate rather than rebuilding the entire bed. Cedar frames typically last fifteen to twenty years with minimal care, while pine may need replacement after five to seven years.
Common Raised Bed Mistakes
Avoid these pitfalls that trip up many first-time raised bed gardeners.
- Using poor soil fill. Do not fill your bed with plain garden soil or topsoil alone. It will compact, drain poorly, and produce mediocre results. Invest in a quality mix.
- Making the bed too wide. If you cannot reach the center comfortably, the bed is too wide. Four feet maximum for access from both sides.
- Skipping drainage at the bottom. While raised beds drain well, placing them on concrete or other impervious surfaces without adequate bottom drainage can create a bathtub effect.
- Forgetting to mulch. Bare soil in a raised bed dries out rapidly, bakes in the sun, and crusts over. Always mulch.
- Not replenishing soil. Raised bed soil is not a "set it and forget it" proposition. Annual compost additions are essential.
Frequently Asked Questions
How much does it cost to build a raised bed?
A basic 4-by-8-foot cedar raised bed costs approximately $150 to $300 for materials, depending on lumber prices in your area. Pine is cheaper, around $75 to $150. The soil mix to fill it costs another $50 to $150 depending on whether you buy bagged mix, bulk delivery, or make your own from components. Total investment for a complete, filled cedar bed: roughly $200 to $450. This investment pays for itself many times over in fresh produce.
Can I put a raised bed on concrete or a patio?
Yes, but with some adjustments. The bed needs adequate drainage, so drill several half-inch holes in the bottom or place the bed on slightly elevated feet. Add a layer of gravel at the bottom before the soil mix to improve drainage. Beds on concrete will also heat up more in summer and may need more frequent watering.
What should I plant in my raised bed first?
Start with easy, productive crops that give quick results and build your confidence. Lettuce, radishes, bush beans, cherry tomatoes, herbs (basil, parsley, chives), and zucchini are all excellent first-crop choices. These are the same vegetables we recommend for anyone starting a vegetable garden.
How deep should a raised bed be for root vegetables?
Root vegetables like carrots, parsnips, and beets need at least twelve inches of loose soil. For long carrot varieties, sixteen to eighteen inches is better. If your raised bed is shallower, stick to shorter root vegetable varieties like Chantenay carrots or round beets, which develop in the top eight to ten inches of soil.
Do raised beds need to be replaced over time?
The frame will eventually need replacement, but the soil can be maintained indefinitely with annual compost additions. Cedar and stone frames can last decades. Pine frames may need replacement every five to seven years. When replacing the frame, simply remove the old boards, set new ones in place, and refill any soil that spilled out. The living soil ecosystem inside the bed continues uninterrupted.
Conclusion
Raised bed gardening is one of the most practical and rewarding approaches to growing food at home. The combination of superior drainage, complete soil control, fewer weeds, easier access, and extended growing seasons makes raised beds an excellent choice for gardeners of every skill level. Whether you build one modest bed or a dozen, the principles are the same, and the results are consistently impressive.
Start with one bed. Choose a sunny spot, select your materials, mix a quality soil blend, and plant a few of your favorite vegetables. You will quickly see why so many gardeners, once they try raised beds, never go back to digging in the ground. The soil is better, the work is easier, and the harvests are extraordinary.
Once your raised bed is producing, you will want to keep the soil healthy for years to come. Starting a compost system is the perfect companion project. And if you are ready to expand your garden further, explore our guide on edible landscaping for ideas on integrating food production into every corner of your yard.