Introduction
If you have ever tried to dig a hole in your garden and found yourself wrestling with a sticky, rock-hard mass that clings to your shovel like wet cement, you already know clay soil. It is the bane of many gardeners, the soil type that makes simple tasks like planting seedlings feel like excavation work. When it is wet, it is a slippery, compacted mess that sticks to everything. When it is dry, it cracks into brick-like chunks that seem impervious to water. Either way, your plants struggle.
Here is the good news: clay soil is not a death sentence for your garden. In fact, clay has some significant advantages that sandy soil lacks. It is naturally rich in minerals and nutrients. It holds moisture well, which means less frequent watering once it is properly hydrated. And it has a high cation exchange capacity, meaning it holds onto nutrients and releases them to plant roots over time. The problem is not that clay soil is bad. The problem is that its structure needs work.
Improving clay soil is a project measured in seasons, not days. You will not fix it overnight with a single application of anything. But with consistent, strategic amendments and the right techniques, you can transform heavy, unworkable clay into a rich, crumbly, productive growing medium that outperforms almost any other soil type. This guide will show you exactly how to identify your clay soil, test its drainage, choose the right amendments, and implement a long-term improvement plan that turns your biggest gardening obstacle into your greatest asset.
Identifying Clay Soil
Before you can fix clay soil, you need to confirm that is actually what you are dealing with. Not all heavy soils are true clay, and the treatment differs depending on soil type.
The Feel Test
Pick up a handful of moist soil and squeeze it. Clay soil forms a firm ball that holds its shape and can be flattened into a ribbon between your thumb and forefinger. The longer the ribbon before it breaks, the higher the clay content. If you can press out a ribbon longer than two inches, you have heavy clay. If it crumbles immediately, you have sandy or loamy soil. If it forms a short ribbon (one to two inches) before breaking, you have a clay loam, which is actually a desirable soil type.
The Jar Test
For a more precise assessment, fill a clear jar one-third full with soil from your garden, add water to nearly full, shake vigorously, and set it on a flat surface. Over the next 24 to 48 hours, the soil particles will settle into distinct layers. Sand settles first (within a minute), followed by silt (within an hour), and finally clay (which can take a full day or more to settle). If the clay layer makes up more than 40 percent of the total, you have clay soil. A balanced loam is roughly 40 percent sand, 40 percent silt, and 20 percent clay.
Visual Clues
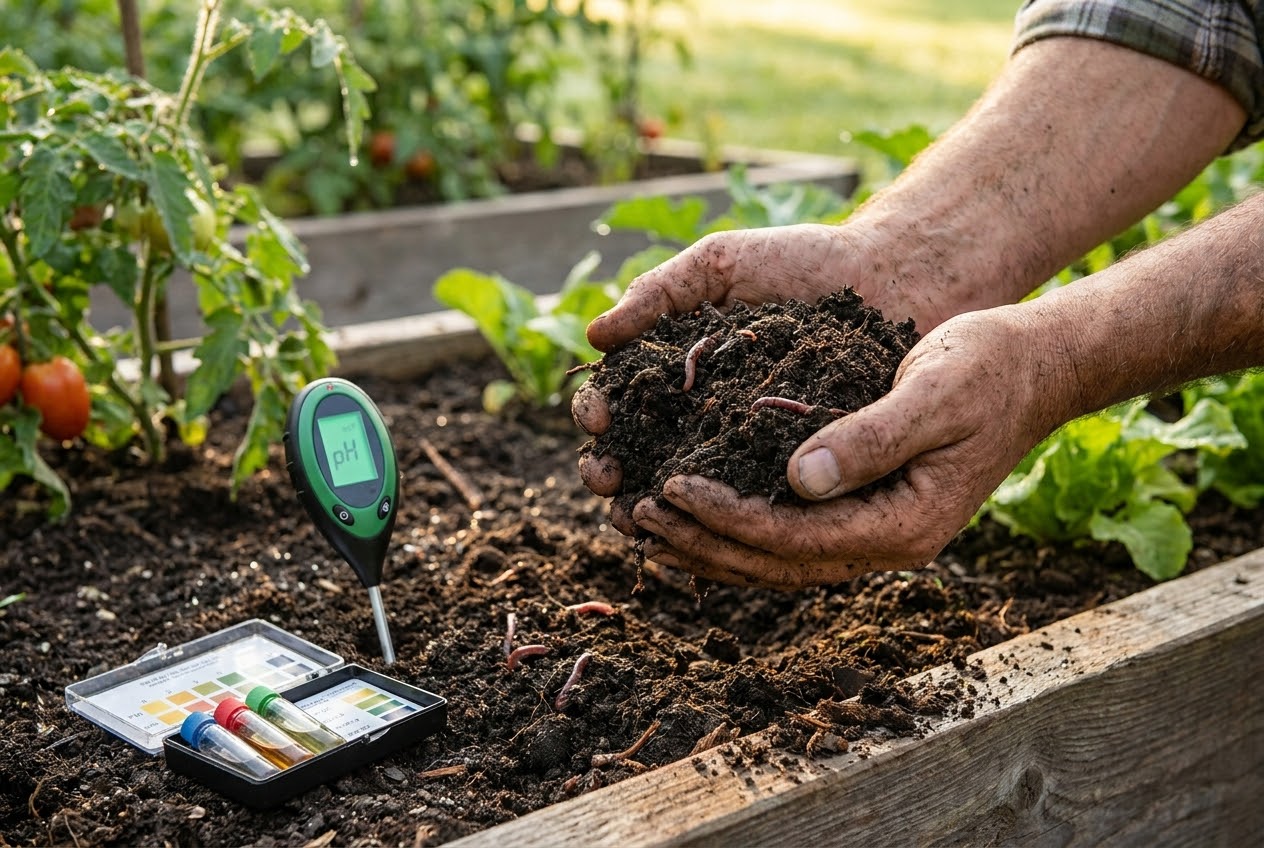
Clay soil has several telltale visual characteristics. It tends to be reddish, orange, or yellowish in color due to high iron oxide content. After rain, it holds standing water for hours or days. In dry weather, it develops deep cracks on the surface. It forms hard, crusty clods when turned with a shovel. And plant roots, when you pull up a struggling plant, tend to be shallow and sparse, unable to penetrate the dense clay below. For a complete soil analysis, including nutrient content and pH, our guide on soil testing and amendment walks you through the testing process.
Understanding Clay Soil Characteristics
Drainage Issues
The defining problem with clay soil is poor drainage. Clay particles are incredibly small, less than 0.002 millimeters in diameter, and they pack together so tightly that there is almost no air space between them. Water cannot percolate through this dense matrix quickly, so it sits on the surface or moves through painfully slowly. This waterlogged condition suffocates plant roots, which need oxygen as much as they need water. Roots sitting in saturated clay rot quickly, especially in spring when cold, wet soil compounds the problem.
Compaction
Clay compacts easily under foot traffic, heavy equipment, and even the weight of raindrops hitting bare soil. Once compacted, the already-tight particle spacing becomes even denser, making the drainage and root penetration problems worse. This is why walking on clay garden beds after rain is one of the worst things you can do. The soil compresses under your weight and does not recover until it is worked again. Compacted clay also forms a hardpan layer below the surface that acts like a barrier, preventing water and roots from moving downward.
Nutrient Rich but Locked
Paradoxically, clay soil is often loaded with nutrients. Its high cation exchange capacity means it holds onto calcium, magnesium, potassium, and other nutrients that would wash right through sandy soil. The problem is that these nutrients can become chemically bound to clay particles in forms that plants cannot access. Without adequate organic matter and biological activity to unlock these nutrients, plants in clay soil can actually show deficiency symptoms even though the soil tests high for those same nutrients. The solution is not more fertilizer. It is better soil biology and structure.
Testing Your Soil Drainage
A simple percolation test tells you exactly how poorly your clay soil drains and gives you a baseline to measure improvement against.
- Dig a hole 12 inches deep and 12 inches wide in the area you want to test.
- Fill it with water and let it drain completely (this pre-saturates the soil so you get accurate results).
- Fill it again and measure the water level. Mark the starting level with a stick or ruler.
- Check the water level every hour and record how long it takes to drain completely.
Ideal garden soil drains about one to two inches per hour. Heavy clay may drain less than half an inch per hour, or may not drain at all within 24 hours. If your hole still has standing water after 24 hours, you have a serious drainage problem that needs aggressive intervention. If it drains one-half to one inch per hour, your soil is heavy but workable with standard amendments. Keep records of your initial test so you can measure improvement after each amendment application.
Amendment Strategies for Clay Soil
The key to improving clay soil is adding materials that separate the tiny clay particles and create air space, improve drainage, and encourage biological activity. Here are the most effective strategies, ranked by impact.
Organic Matter: The Single Best Amendment
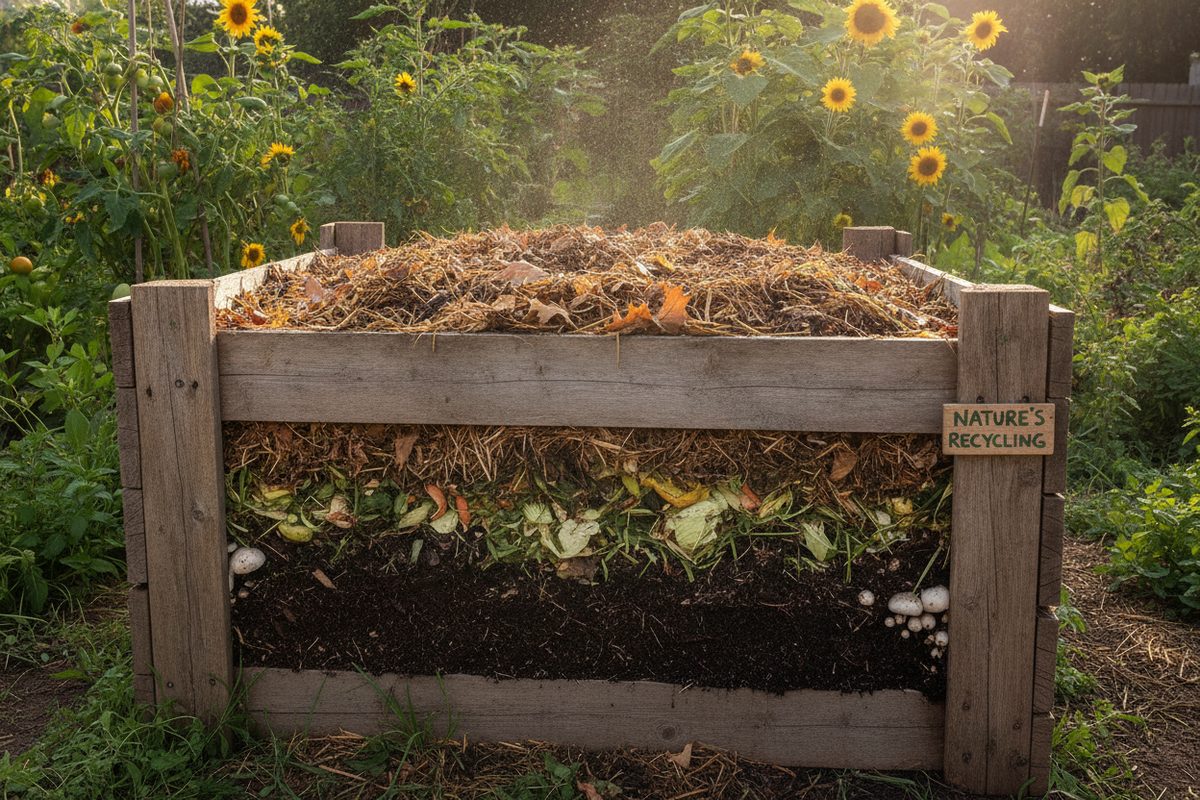
If you do nothing else for your clay soil, add organic matter. It is the most effective, most accessible, and most beneficial amendment available. Organic matter works on multiple levels: it physically separates clay particles, improves drainage, feeds soil microorganisms that further improve structure, adds nutrients, and improves water-holding capacity without creating waterlogging.
Effective forms of organic matter include:
- Compost: The gold standard. Well-finished compost integrates into clay soil quickly and provides immediate structural improvement. Apply two to four inches annually and work it into the top six to eight inches. Our composting at home guide shows you how to produce your own supply.
- Aged manure: Cow, horse, chicken, and rabbit manure all improve clay soil. Fresh manure should be composted for at least six months before application to avoid burning plants and introducing pathogens.
- Leaf mold: Decomposed leaves create a crumbly, moisture-retentive material that is excellent for clay. Shred leaves with a mower and pile them for a year, or spread them as mulch and let nature do the work.
- Straw and hay: Carbon-rich materials that add bulk and improve drainage. Till them into the soil in fall so they have winter to decompose before spring planting.
- Cover crops: Growing and then turning under green manure crops like clover, winter rye, or buckwheat adds massive amounts of organic matter directly where it is needed. The roots of cover crops also physically break up compacted clay.
The key with organic matter is persistence. A single application helps, but annual applications for three to five years create transformative results. Each year, the soil gets looser, darker, more crumbly, and more alive with earthworms and beneficial microorganisms.
Gypsum: The Clay Breaker
Gypsum (calcium sulfate) is often marketed as a clay soil cure-all, and while it is not a miracle fix, it does provide real benefits for certain types of clay soil. Gypsum works by replacing sodium ions on clay particles with calcium ions. Sodium causes clay particles to clump tightly together, while calcium promotes a more open, flocculated structure. If your clay soil is high in sodium, a condition common in arid and semi-arid regions, gypsum can be genuinely effective.
For soils that are not sodium-rich, gypsum still provides calcium and sulfur, both essential plant nutrients, but its structural benefits are more modest. Apply at a rate of 40 pounds per 1,000 square feet and work into the top six inches. Reapply annually for two to three years. Gypsum is inexpensive and available at most garden centers. It will not harm your soil, but do not expect it to replace organic matter as your primary amendment.
The Sand Debate
You might think that adding sand to clay soil would improve drainage by increasing particle size and air space. This is a common misconception that can actually make the problem worse. To effectively change the texture of clay soil with sand, you would need to add so much sand (at least 50 percent by volume) that it is impractical and prohibitively expensive. A small amount of sand mixed into clay creates a substance remarkably similar to concrete: the sand fills the tiny gaps between clay particles, making the soil even denser and more impermeable.
The only scenario where sand works is if you add massive quantities (several inches deep, tilled thoroughly) along with organic matter. The organic matter prevents the concrete effect by separating particles. But at that point, the organic matter is doing most of the work, and the sand is an expensive, heavy addition. Save your money and your back. Stick with organic matter instead.
Cover Crops
Cover crops deserve special attention because they improve clay soil in ways that no other amendment can match. Deep-rooted cover crops like daikon radish, chicory, and alfalfa send taproots down into compacted clay, creating channels that persist after the plant dies and decomposes. These bio-drilled channels improve drainage and allow future plant roots to penetrate deeper into the soil. Leguminous cover crops like crimson clover and hairy vetch fix atmospheric nitrogen, adding it to the soil for free. And the biomass from any cover crop, when turned under, adds organic matter exactly where it is needed.
Plant cover crops in fall after harvesting summer vegetables, or in any bare bed during the growing season. Mow or cut them before they set seed and turn the residue into the soil. Allow two to four weeks for decomposition before planting. For more on building soil biology, our guide on natural garden health covers the soil food web approach to fertility.
| Amendment | How It Works | Application Rate | Timeline to Results |
|---|---|---|---|
| Compost | Separates clay particles, feeds microbes, adds nutrients | 2–4 inches annually, tilled into top 6–8" | Noticeable improvement first season; major transformation in 2–3 years |
| Aged Manure | Adds organic matter and nitrogen; improves structure | 1–2 inches annually, composted 6+ months | First season; cumulative improvement over 2–3 years |
| Gypsum | Replaces sodium with calcium; flocculates clay particles | 40 lbs per 1,000 sq ft, worked into top 6" | 3–6 months for structural change; annual reapplication |
| Leaf Mold | Improves moisture retention and crumb structure | 2–3 inches as mulch or tilled in | 6–12 months; continuous improvement with annual additions |
| Cover Crops | Root channels break compaction; biomass adds organic matter; legumes fix nitrogen | Sow at recommended rate for species; turn under before flowering | One season for root channel benefits; cumulative over multiple plantings |
| Straw/Hay Mulch | Adds carbon; protects surface from crusting; feeds worms | 3–4 inches on surface; till in at end of season | First season for surface protection; 6–12 months for structural improvement |
| Perlite/Vermiculite | Creates permanent air space in soil | Mix 10–20% by volume into planting holes or beds | Immediate; permanent but only in amended areas |
Double Digging: The Deep Solution
Double digging is a traditional technique that physically loosens soil to a depth of 18 to 24 inches, far deeper than normal tilling. It is labor-intensive but extraordinarily effective for breaking up compacted clay and incorporating organic matter at depth.
The process works like this: dig a trench one spade-depth (about 12 inches) deep across one end of the bed, setting the soil aside. Use a garden fork to loosen the soil at the bottom of the trench to another spade-depth. Move to the next section, digging a second trench and using that soil to fill the first trench, incorporating compost or other amendments as you go. Continue across the entire bed, filling the last trench with the soil from the first.
The result is a bed that has been loosened to twice the normal depth, with organic matter incorporated throughout. Roots can penetrate much deeper, accessing moisture and nutrients that were previously unreachable in the compacted clay below. Water drains through the loosened profile rather than pooling on the surface. It is a lot of work, but you only need to do it once if you maintain the bed with annual mulching and top-dressing with compost afterward. Raised beds filled with quality soil mix are another option for severely clay-affected areas. Our raised bed gardening guide covers construction and filling in detail.
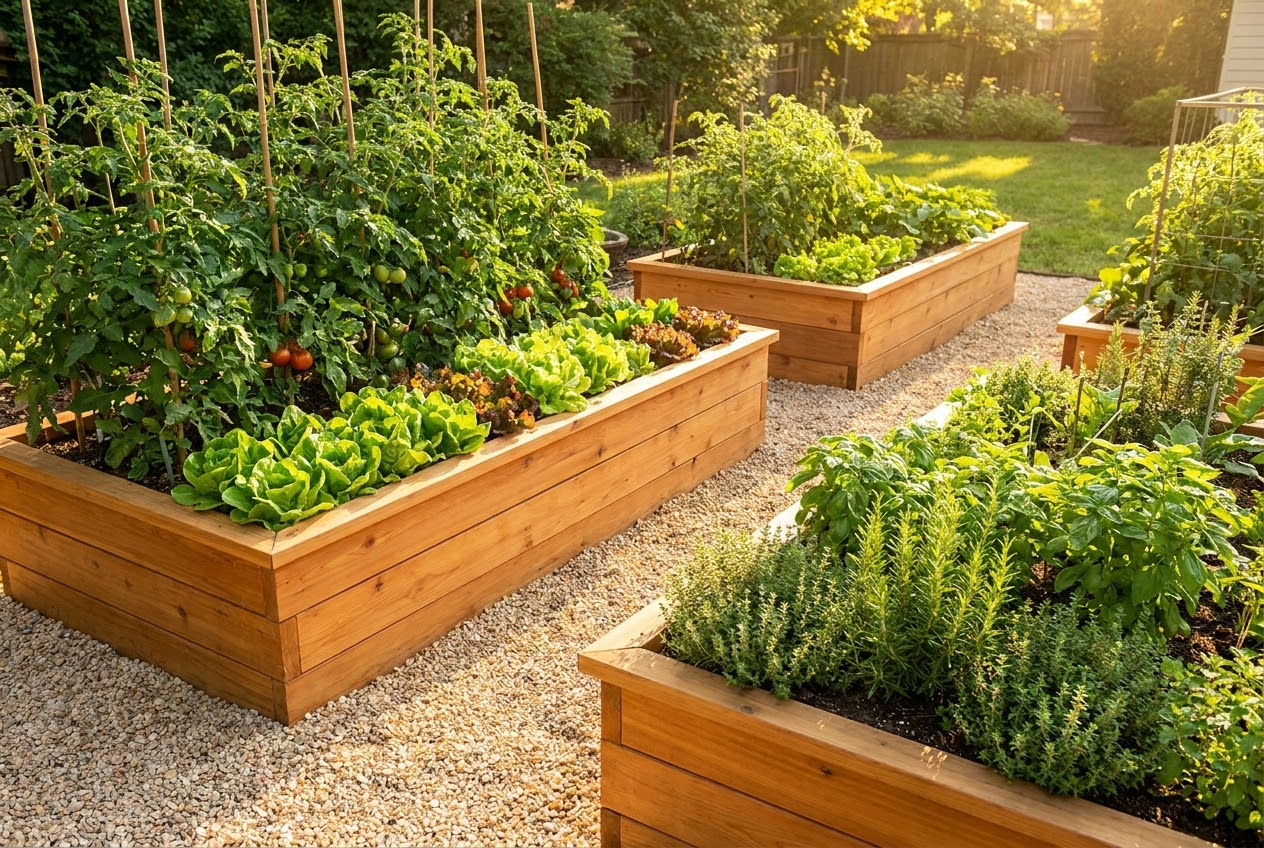
The Raised Bed Alternative
If your clay soil is extremely poor, extremely compacted, or you simply do not want to spend years amending it, raised beds offer an immediate solution. By building a frame and filling it with a quality soil mix, you create an instant growing environment that bypasses the clay entirely.
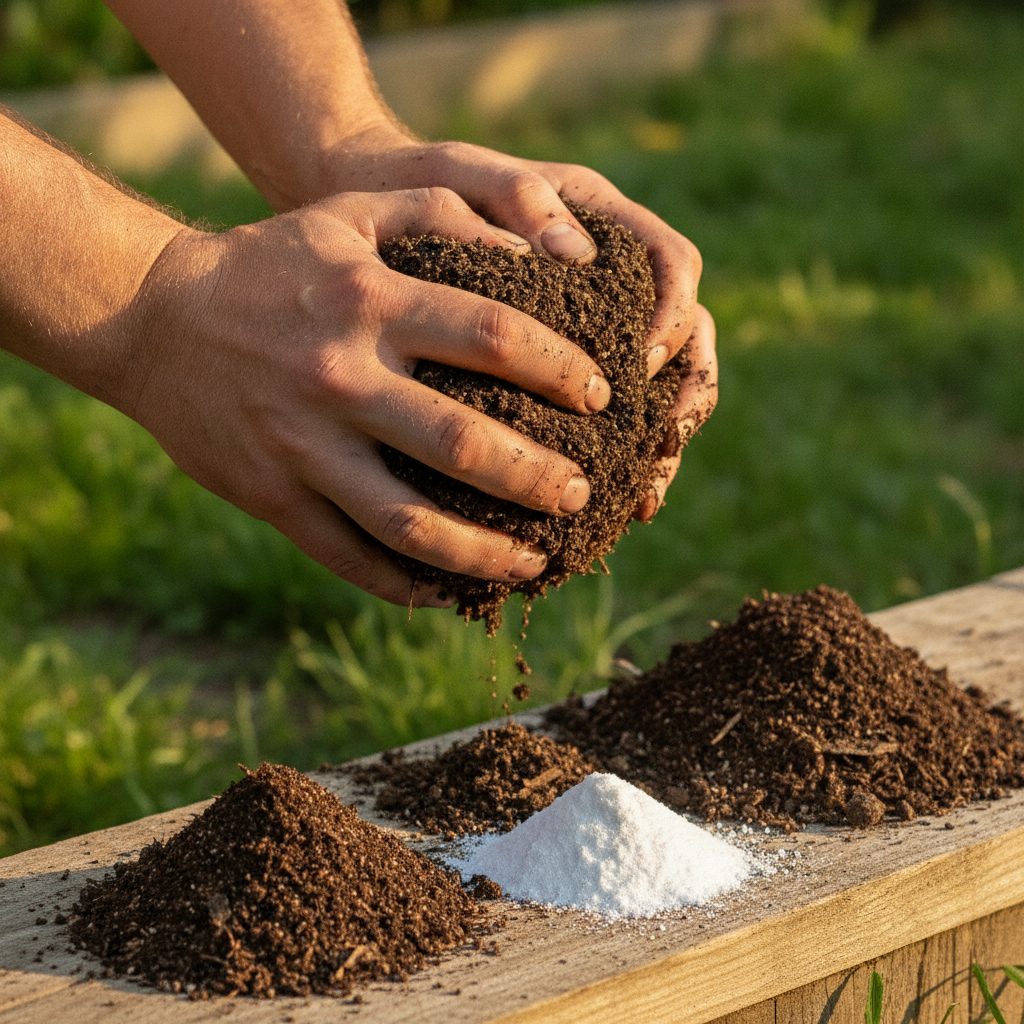
The key is the soil mix. A proven recipe is one-third compost, one-third coarse vermiculite or perlite, and one-third peat moss or coconut coir. This mix is light, well-draining, nutrient-rich, and has excellent water-holding capacity. Fill your raised beds at least 12 inches deep for most vegetables, and 18 inches deep for root crops like carrots and potatoes.
Over time, the organic matter from your raised bed will leach downward into the clay below, gradually improving it. Earthworms will move between the bed and the native soil, carrying organic matter with them and creating channels. Within a few years, the clay beneath your raised bed will be noticeably better than the surrounding unamended clay. For more on this approach, see our guide on starting a vegetable garden from scratch.
Long-Term Improvement Plan
Improving clay soil is a marathon, not a sprint. Here is a realistic timeline for transforming heavy clay into productive garden soil.
Year One: Foundation
In the first year, focus on adding as much organic matter as possible. Apply four inches of compost over the entire area and till it into the top eight inches. If you choose to double dig, do it now. Plant a fall cover crop of winter rye and crimson clover. Apply gypsum if your soil test indicates high sodium. Mulch bare areas with straw or shredded leaves over winter. Get a baseline soil test so you can track progress. Our soil testing guide explains what to test for and how to interpret results.
Year Two: Building
Add two to three more inches of compost and work it into the top six inches. Plant another cover crop in fall. Begin using mulch year-round to protect the soil surface from crusting and to feed earthworms. You should notice the soil becoming easier to dig and less sticky when wet. Earthworm counts should be increasing.
Year Three and Beyond: Refinement
By year three, your soil should be dramatically improved. Continue adding compost annually, but you may be able to reduce tilling as the soil structure improves. Switch to no-till methods: top-dress with compost and let earthworms incorporate it. The soil should now crumble in your hand rather than forming a tight ribbon. Drainage should be noticeably faster. Plant roots should penetrate much deeper. You are now gardening in improved clay loam, one of the most productive soil types there is.
Best Plants for Clay Soil
While you are working on improving your clay soil, choose plants that actually tolerate or even thrive in clay conditions. These plants have root systems strong enough to penetrate dense soil and are adapted to the moisture fluctuations that clay creates.
- Vegetables: Kale, cabbage, Brussels sprouts, broccoli, collard greens, beans, peas, squash, pumpkins, and tomatoes (in amended clay). These are all heavy feeders that appreciate clay's nutrient-holding capacity.
- Herbs: Mint, bee balm, chives, and comfrey tolerate clay well. Comfrey is especially valuable because its deep taproot mines nutrients from the subsoil and brings them to the surface.
- Perennials: Coneflower (Echinacea), black-eyed Susan, daylily, aster, and hosta all perform well in clay. Many native prairie plants evolved in clay soils and are perfectly adapted.
- Trees and shrubs: Oak, maple, willow, dogwood, and viburnum tolerate clay. Fruit trees on vigorous rootstock can manage clay if the drainage is not severe.
For fruit and vegetable gardening in clay, pairing the right plants with ongoing soil improvement gives you the best of both worlds: productive harvests now while your soil gets better for the future. Our guide on growing tomatoes includes specific tips for clay soil conditions.
Common Mistakes to Avoid
- Working clay when wet. Never till, dig, or walk on clay soil when it is wet. You will destroy the soil structure and create worse compaction. Wait until the soil is moist but not soggy: squeeze a handful and it should crumble apart rather than forming a ball.
- Adding sand in small amounts. As discussed, a little sand makes clay worse, not better. Either add massive quantities with organic matter or skip sand entirely.
- Expecting instant results. Clay soil improvement is cumulative. Each season of amendment builds on the last. Do not be discouraged if the soil still feels heavy after one year of effort.
- Skipping mulch. Bare clay soil crusts over in rain and bakes hard in sun. Always keep it covered with mulch, cover crops, or living plants. Mulch also feeds earthworms, which are your best allies in clay improvement.
- Over-tilling. While initial tilling to incorporate amendments is fine, excessive tilling destroys soil structure and kills earthworms. Transition to no-till methods as soon as your soil structure allows.
- Ignoring drainage. If your clay soil holds standing water for days after rain, no amount of organic matter will fix the problem without addressing the underlying drainage issue. You may need to install French drains, raise the bed, or choose a different planting site. Our watering guide covers drainage solutions for problem areas.
Frequently Asked Questions
How long does it take to improve clay soil?
You will notice some improvement after one season of adding organic matter, but significant structural change takes two to three years of consistent amendment. After five years of annual compost additions and cover cropping, most clay soils transform into a productive clay loam. The key is consistency: adding organic matter every year without fail. Each application builds on the previous one.
Can I garden in clay soil without amending it?
Yes, if you choose plants adapted to clay conditions. Many vegetables, herbs, and perennials tolerate or even prefer clay soil. However, even clay-tolerant plants perform better in improved soil. A middle-ground approach is to amend planting holes rather than entire beds, adding compost to each hole when you plant. This gives individual plants a good start while you work on broader soil improvement over time.
Is clay soil acidic or alkaline?
Clay soil can be either, depending on your region. In the eastern United States, clay soils tend to be acidic. In the western states, they tend to be alkaline. The only way to know your soil's pH is to test it. Most vegetables prefer a pH of 6.0 to 7.0. If your clay is too acidic, add garden lime. If it is too alkaline, add sulfur or acidic organic matter like pine needles or peat moss. Our soil testing guide covers pH adjustment in detail.
Should I use raised beds or improve my clay soil?
It depends on your timeline and patience. Raised beds give you immediate results and are ideal for renters or anyone who wants to start growing right away. Improving clay soil in place is less expensive and creates a more permanent, resilient growing environment, but it takes time. Many gardeners use both: raised beds for immediate production while gradually improving the native soil underneath and around them.
Does adding gravel to the bottom of planting holes help drainage in clay?
No, this is a persistent myth. Adding gravel to the bottom of a hole in clay soil creates what is called a perched water table: water accumulates above the gravel layer because it cannot drain through the dense clay below. This actually makes the drainage problem worse by raising the water level closer to plant roots. Instead, improve drainage by adding organic matter throughout the soil profile, not just at the bottom of a hole.
Conclusion
Clay soil is frustrating, there is no sugarcoating that. But it is also a canvas for some of the most productive gardening you will ever do. The same properties that make clay difficult to work with, its density, its nutrient-holding capacity, its moisture retention, become assets once you unlock them with organic matter and biological activity.
Start with a soil test. Know exactly what you are working with. Then commit to adding organic matter every year, without exception. Compost, cover crops, mulch, and aged manure are your tools. Be patient. Each season, the soil gets a little better. Earthworms appear. Roots push deeper. Water starts to infiltrate rather than pool. And one day, you will plunge your shovel into what was once impenetrable clay and feel it crumble apart like chocolate cake. That is the moment when all the effort pays off.
Pair your soil improvement work with smart watering through drip irrigation, proper mulching, and the right plant selection, and you will have a garden that thrives in conditions that defeat most gardeners. Clay soil is not your enemy. It is your garden's untapped potential, waiting to be released.