Introduction
For thousands of years, gardeners and farmers saved seeds. It was simply what you did. You grew your crops, selected the best specimens, collected their seeds, and planted them again the following year. Over generations, this practice produced locally adapted varieties that thrived in specific soils, climates, and conditions. The seeds themselves became a living legacy, passed down from parent to child, neighbor to neighbor.
Then, in the twentieth century, commercial seed companies largely took over. Gardeners began buying new packets every spring, often without realizing that the seeds from their own plants were just as viable and far more valuable. A comprehensive seed saving guide like this one can help you reclaim that ancient skill. Saving seeds from your garden saves money, preserves biodiversity, builds plants that are increasingly adapted to your specific growing conditions, and connects you to a tradition that stretches back to the very dawn of agriculture.
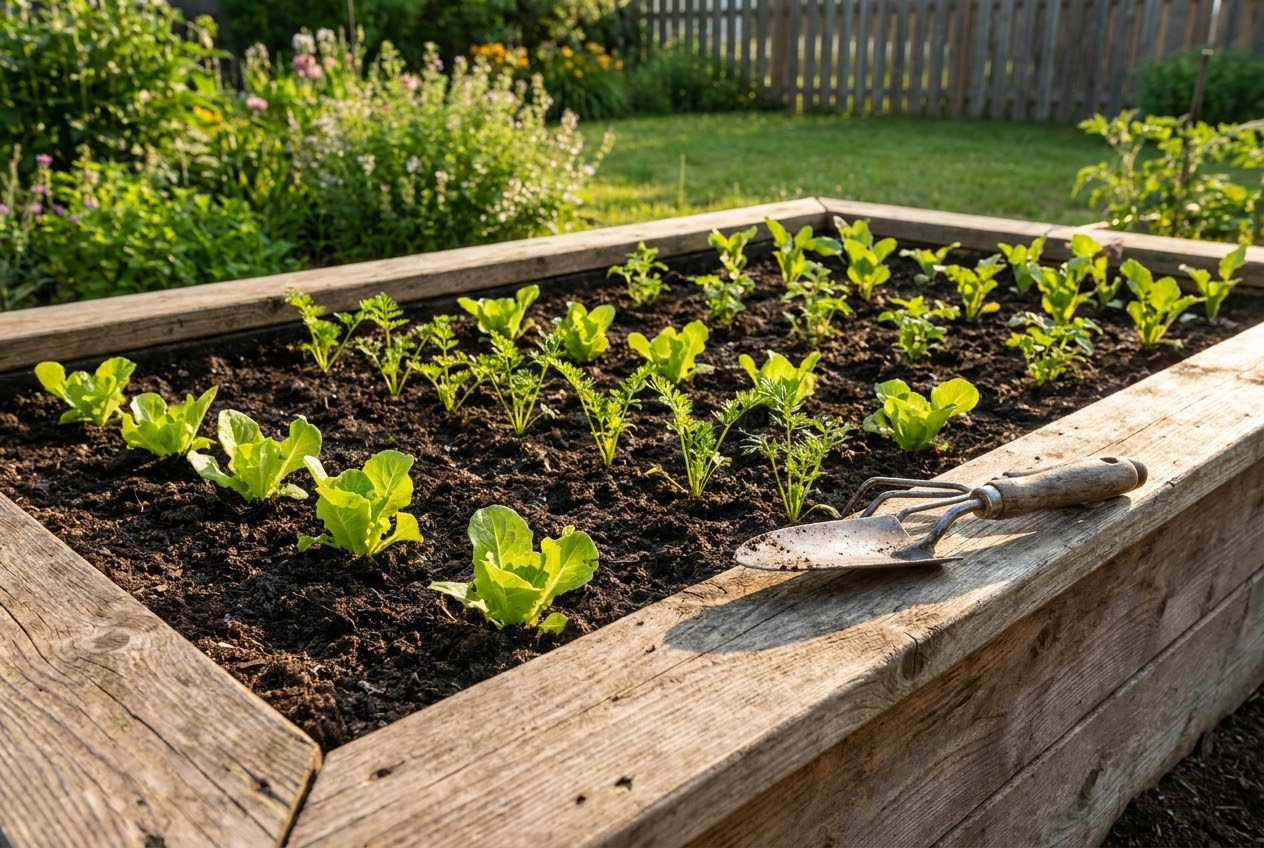
Whether you are growing tomatoes on a patio or managing a full backyard vegetable garden, seed saving is within your reach. This guide covers everything you need to know: the science behind seed types, the two fundamental processing methods, proper storage techniques, preventing unwanted cross-pollination, and how to test whether your saved seeds are still viable. Let us get started.
Why Save Seeds?
Before diving into the how, it is worth understanding the why. Seed saving offers benefits that go well beyond simply having free seeds for next year.
Save Money
A single packet of vegetable seeds costs $2 to $5, and most serious gardeners buy dozens of packets each year. Over a decade, that adds up to hundreds of dollars. Seeds from your own garden are completely free. One healthy tomato plant can produce hundreds of seeds. A single lettuce plant allowed to bolt can yield thousands. The return on investment is extraordinary.
Develop Locally Adapted Varieties
This is the most powerful benefit of seed saving. When you save seeds from plants that performed well in your garden, you are selecting for traits that match your specific soil, climate, rainfall, and pest pressures. Over several generations, these plants become increasingly well-adapted to your conditions. This process, called landrace development, produces plants that outperform commercial varieties in your specific garden.
Preserve Genetic Diversity
Commercial agriculture relies on a narrow genetic base. The majority of the world's food comes from just a handful of crop species, and within those species, genetic diversity is shrinking. When you save seeds from heirloom and open-pollinated varieties, you help preserve genetic diversity that might otherwise be lost. This diversity is the raw material for breeding crops that can withstand future challenges like new diseases, changing climates, and evolving pest pressures.
Self-Sufficiency and Resilience
A seed stockpile gives you independence. Supply chain disruptions, seed company closures, or simply a late start to the season will not affect your ability to plant. If you want to expand your self-sufficiency efforts, combine seed saving with other practices like composting at home and rainwater harvesting to create a truly resilient garden system.
Understanding Seed Types: Open-Pollinated, Hybrid, and Heirloom
Not all seeds are created equal when it comes to saving. Understanding the difference between open-pollinated, hybrid, and heirloom seeds is fundamental to successful seed saving.
Open-Pollinated (OP) Seeds
Open-pollinated varieties are pollinated naturally by wind, insects, or self-pollination. Seeds saved from OP plants grow "true to type," meaning the offspring will be essentially identical to the parent plant. This makes OP varieties the foundation of seed saving. If you see "OP" on a seed packet, you can save those seeds with confidence.
Hybrid (F1) Seeds
Hybrid seeds are produced by deliberately crossing two different parent varieties to create offspring with specific desirable traits like disease resistance, uniformity, or higher yield. The resulting F1 hybrid plants are often vigorous and productive, but their seeds do not grow true to type. If you save and plant hybrid seeds, the next generation will be unpredictable, reverting to the characteristics of the grandparent plants in random combinations. For this reason, seed saving from hybrid varieties is generally not recommended for beginners. The results are too inconsistent to be reliable.
Heirloom Seeds
Heirlooms are open-pollinated varieties that have been passed down for at least 50 years, often much longer. They are prized for their flavor, historical significance, and genetic purity. Cherokee Purple tomatoes, Scarlet Runner beans, and Glass Gem corn are beloved examples. Heirloom seeds are ideal for saving because they are genetically stable and will always grow true to type when properly isolated from other varieties of the same species.
Wet Processing: Seeds from Fleshy Fruits
Wet processing is used for seeds that develop inside fleshy fruits, such as tomatoes, cucumbers, squash, melons, and peppers. These seeds are surrounded by a gel-like coating that contains germination inhibitors. The coating must be removed before the seeds can be stored, and fermentation is the most effective way to do it.
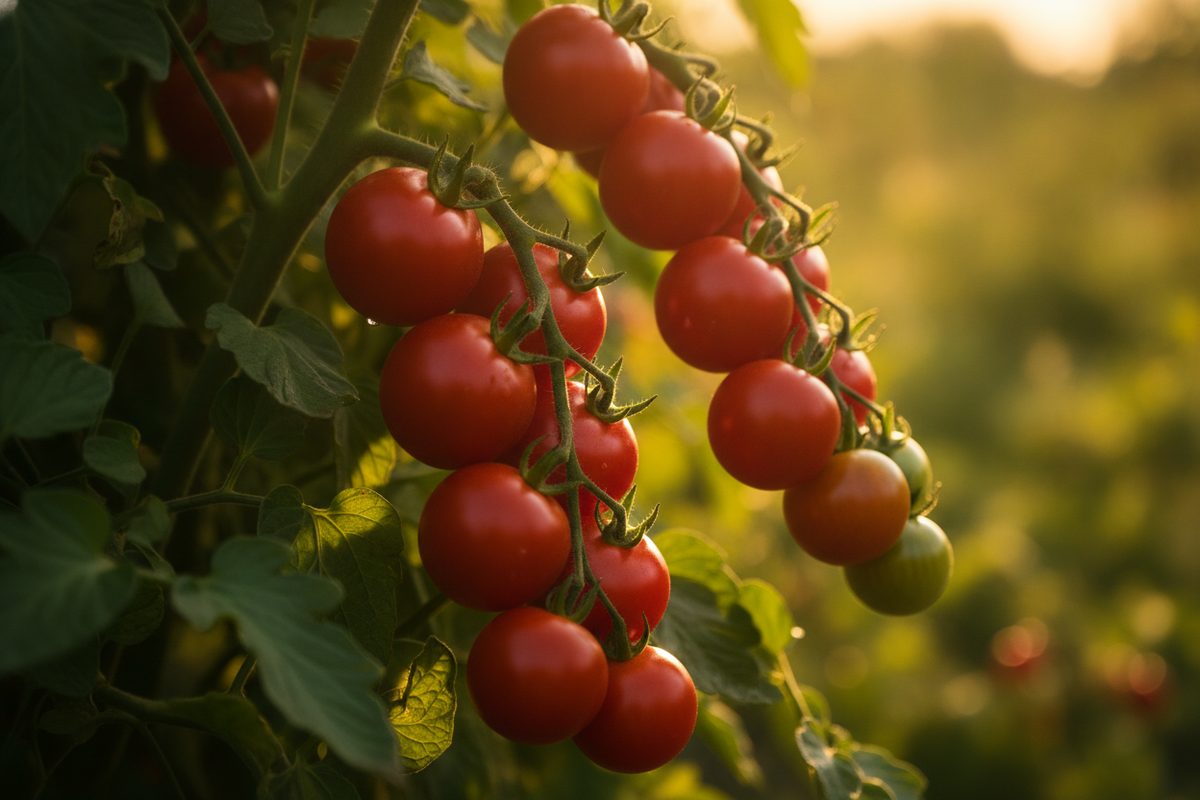
Tomato Seed Saving
Tomatoes are one of the best crops for beginners learning seed saving because they are mostly self-pollinating, which means cross-pollination is rare (though not impossible). Here is the step-by-step process:
- Choose the best fruits. Select tomatoes from your healthiest, most productive, and best-tasting plants. Never save seeds from diseased or weak specimens.
- Scoop out the seeds. Cut the tomato in half and scoop the seeds and surrounding gel into a clean glass jar. Add a small amount of water, just enough to cover the seeds.
- Ferment. Cover the jar loosely with a lid or cloth and place it in a warm spot (70 to 80 degrees Fahrenheit) out of direct sunlight. Stir once daily. Within two to three days, a layer of white mold will form on the surface. This fermentation dissolves the gel coating and destroys many seed-borne diseases.
- Harvest the seeds. When the mold layer is thick and the seeds have settled to the bottom, add water to the jar and stir vigorously. Viable seeds are heavy and sink. Pulp and hollow seeds float. Pour off the floating material and debris. Repeat this rinsing process until only clean seeds remain at the bottom.
- Dry the seeds. Pour the clean seeds onto a fine mesh screen, a ceramic plate, or a paper towel. Spread them in a single layer and place them in a well-ventilated area away from direct sunlight. Stir or flip them daily. Seeds are fully dry when they are hard, do not dent when pressed with a fingernail, and slide easily across the surface. This typically takes five to seven days.
Cucumber and Melon Seed Saving
Cucumbers and melons follow a similar wet processing method but require one important adjustment: allow the fruits to fully ripen past the eating stage before harvesting seeds. A cucumber meant for seed saving should be large, firm, and yellow or orange. A ripe melon will slip easily from the vine. Cut the fruit open, scoop out the seeds and pulp, and follow the same fermentation and drying process described for tomatoes. Fermentation time for cucumber seeds is typically shorter, one to two days.
Squash and Pumpkin Seed Saving
Squash seeds do not require fermentation. Simply scoop the seeds out of a fully ripe squash or pumpkin, rinse them thoroughly under running water to remove all pulp, and dry them on a screen or plate. The main challenge with squash is cross-pollination, which we will address later in this guide.
Dry Processing: Seeds from Dry Fruits and Seed Heads
Dry processing is simpler and is used for crops that produce seeds in dry pods, husks, or flower heads. This includes beans, peas, lettuce, onions, carrots, brassicas (broccoli, cabbage, kale), herbs, and most flowers.
Bean and Pea Seeds
Beans and peas are among the easiest crops for seed saving because they are largely self-pollinating and produce large, easy-to-handle seeds. Allow the pods to dry completely on the plant until they are brown, papery, and rattle when shaken. If rain threatens before the pods are fully dry, pull the entire plant and hang it upside down in a dry, well-ventilated area to finish curing. Once dry, shell the pods by hand or by stomping gently inside a pillowcase. Spread the shelled seeds on a screen for an additional week of drying before storage.
Lettuce Seeds
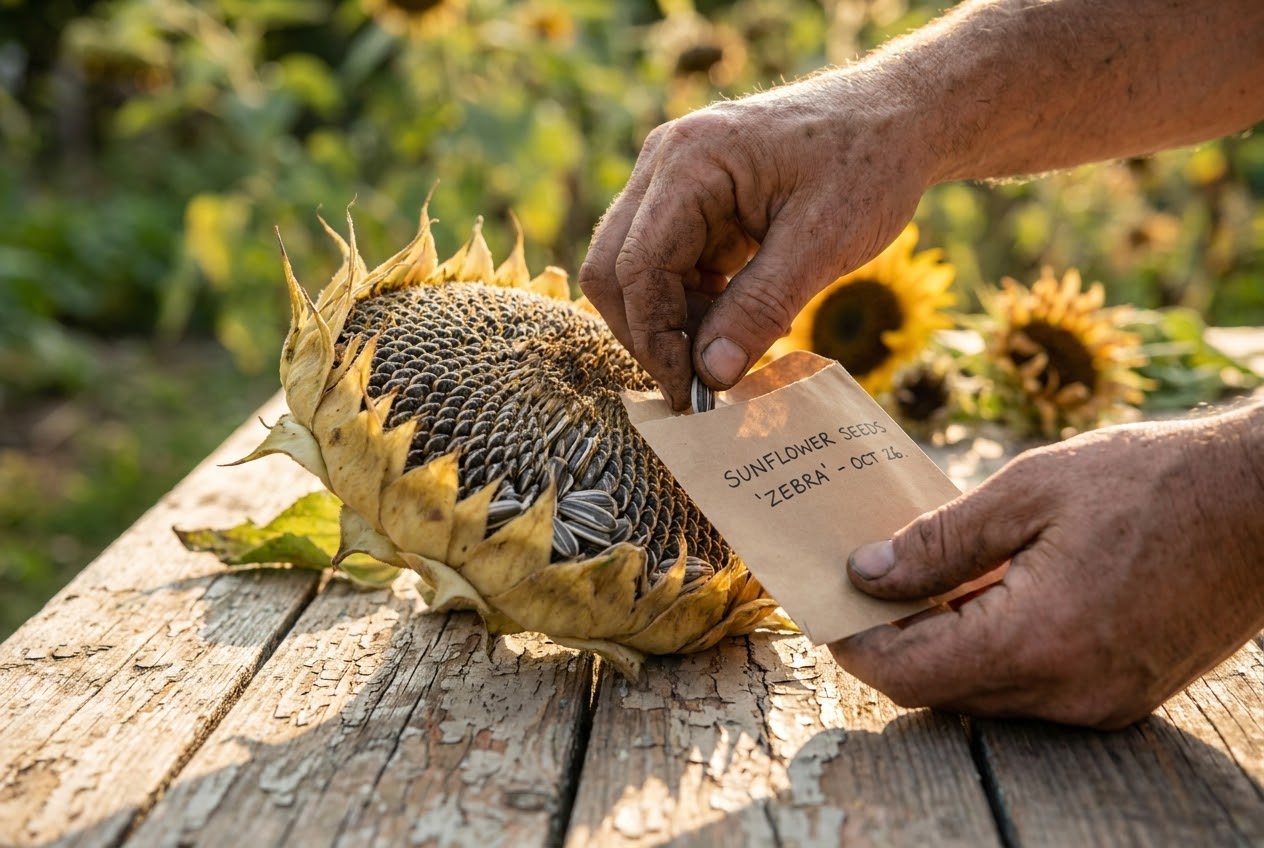
Lettuce plants bolt (send up a flower stalk) when temperatures warm. Allow the flower stalks to develop fully. Small white fluffy seed heads will form, similar to dandelion puffs. When most of the seed heads have turned white and fluffy, cut the entire stalk and place it upside down in a paper bag. Shake the bag vigorously to release the seeds. Winnow away the chaff by pouring the seeds gently from one container to another in a light breeze or in front of a fan.
Brassica Seeds (Broccoli, Kale, Cabbage)
Brassicas are biennials, meaning they produce seeds in their second year. In cold climates, overwinter the plants by mulching heavily around the base. In spring, they will send up flower stalks. Allow the seed pods to form and dry on the plant until they turn brown and begin to split. Cut the stalks, place them in a paper bag, and let them dry for another week. Crush the pods to release the seeds and winnow away the chaff.
Herb Seeds (Cilantro, Dill, Fennel)
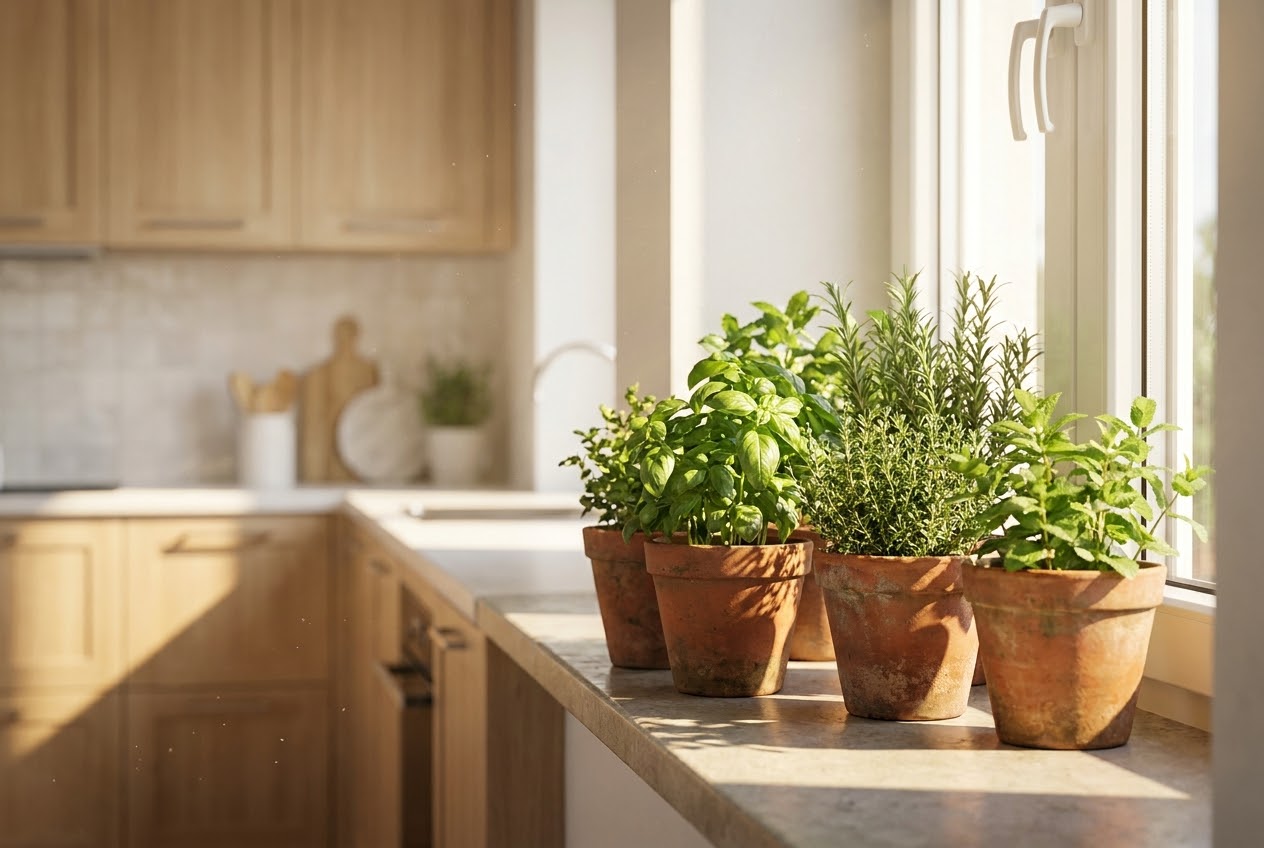
Allow herb plants to flower and form seed heads. For cilantro (coriander) and dill, wait until the seed heads turn brown but before they shatter and drop their seeds naturally. Cut the seed heads and place them in a paper bag to finish drying. Shake the bag to release the seeds after a week. For more on growing herbs, see our guide to indoor herbs.
Drying Techniques for All Seeds
Proper drying is the bridge between harvesting seeds and storing them. Seeds that are not thoroughly dry will mold, rot, or lose viability quickly in storage. The goal is to reduce seed moisture content to about 5 to 8 percent.
Spread seeds in a single layer on a non-stick surface such as a ceramic plate, a window screen, or parchment paper. Avoid paper towels for very small seeds as they will stick. Place the seeds in a well-ventilated room with low humidity, away from direct sunlight. Stir or flip them once or twice daily to ensure even drying.
How do you know when seeds are dry enough? Perform the snap test. A properly dried bean or pea seed will snap cleanly when bent rather than bending. For smaller seeds, press one between your fingernails. It should feel hard and may crack rather than denting. If in doubt, err on the side of drying longer. Over-drying is nearly impossible, while under-drying can ruin an entire batch.
In humid climates, a small fan blowing gently over the seeds speeds the process considerably. Some seed savers use a food dehydrator on its lowest setting (no higher than 95 degrees Fahrenheit) to dry seeds in damp conditions. Higher temperatures can damage seed viability, so use this method only if your dehydrator can maintain a very low temperature.
Storage Conditions: Keeping Seeds Viable
Once your seeds are thoroughly dry, proper storage is essential to maintaining viability. Three factors determine how long seeds remain viable: temperature, humidity, and light exposure.
The ideal storage environment is cool, dark, and dry. The general rule is that the sum of the temperature in degrees Fahrenheit and the relative humidity percentage should be less than 100. For example, a storage temperature of 60 degrees Fahrenheit combined with 30 percent humidity equals 90, which is excellent. The lower this combined number, the longer your seeds will last.
Place dried seeds in airtight containers such as glass mason jars with tight-fitting lids, sealed plastic containers, or foil-lined seed packets inside zip-top bags. Add a small packet of silica gel desiccant to absorb any residual moisture. Label each container with the variety name, the date of collection, and any notes about the parent plant.
Store seed containers in a cool, dark location. A basement, closet, or refrigerator works well. Avoid garages, attics, or sheds where temperatures fluctuate wildly. The refrigerator is an excellent long-term storage location. Seeds stored in a refrigerator in airtight containers with desiccant can remain viable for five years or more, depending on the species.
For even longer storage, some seed savers freeze seeds. Freezing can extend seed life to decades, but the seeds must be extremely dry (below 5 percent moisture) before freezing, or ice crystals will damage the cells. When removing frozen seeds from the freezer, allow the container to reach room temperature before opening to prevent condensation from forming on the cold seeds.
Seed Viability Testing
Before planting saved seeds, it is wise to test their viability, especially if they have been in storage for more than a year. A simple germination test tells you what percentage of your seeds are likely to sprout.
Count out ten seeds from your saved batch. Place them on a damp paper towel, fold the towel over the seeds, and slip it into a zip-top bag to retain moisture. Place the bag in a warm spot, 70 to 75 degrees Fahrenheit is ideal. Check daily and keep the paper towel moist but not waterlogged.
After the expected germination period (which varies by crop, typically five to fourteen days), count how many seeds have sprouted. If eight out of ten germinate, your viability rate is 80 percent, which is excellent. If only five out of ten sprout, your rate is 50 percent, and you should plant seeds more densely to compensate. If fewer than four germinate, consider replacing the seeds with fresher stock.
Keep a seed journal that records germination test results for each variety and year. Over time, you will learn how long each type of seed remains viable under your storage conditions and can plan accordingly.
Isolation Distances and Preventing Cross-Pollination
Cross-pollination occurs when pollen from one variety fertilizes the flowers of another, producing seeds with mixed genetics. For plants that are not self-pollinating, this can be a real concern for seed savers. The offspring of cross-pollinated seeds will not grow true to type.
Different crops have different isolation requirements. Self-pollinating crops like tomatoes, beans, lettuce, and peppers rarely cross-pollinate and need little to no isolation. Insect-pollinated crops like squash, cucumbers, brassicas, and corn are much more prone to crossing and require significant distances between varieties.
If you cannot meet isolation distances, there are other strategies. You can grow only one variety of each species (for example, only one type of squash). Alternatively, use time isolation by staggering planting dates so that different varieties flower at different times. Physical barriers like row cover cloth can also prevent insect pollinators from transferring pollen between varieties.
| Crop | Processing Method | Isolation Distance | Storage Life (years) |
|---|---|---|---|
| Tomato | Wet (ferment) | 10-20 ft (mostly self-pollinating) | 4-8 |
| Pepper | Wet (rinse) | 50-100 ft | 2-5 |
| Cucumber | Wet (ferment) | 500 ft-1/2 mile | 5-10 |
| Squash (same species) | Dry (rinse) | 500 ft-1/2 mile | 4-6 |
| Bean | Dry | 10-20 ft (mostly self-pollinating) | 3-5 |
| Pea | Dry | 10-20 ft (self-pollinating) | 3-5 |
| Lettuce | Dry | 5-10 ft (self-pollinating) | 3-6 |
| Carrot | Dry | 500 ft-1/2 mile | 2-3 |
| Onion | Dry | 800 ft-1 mile | 1-2 |
| Kale / Broccoli | Dry | 800 ft-1 mile | 3-5 |
| Corn | Dry | 800 ft-1 mile | 1-3 |
| Herbs (cilantro, dill) | Dry | 500 ft | 2-4 |
Labeling and Record Keeping
A seed saving guide would be incomplete without emphasizing the importance of good record keeping. Proper labeling prevents confusion and helps you track the performance of your saved varieties over time.
Every seed packet or container should include the variety name, the species, the date of collection, and any relevant notes about the parent plant (such as "earliest tomato" or "best flavor"). Use pencil or waterproof ink on labels that will not fade. Envelopes, small glass jars, and plastic bags all work well depending on the seed size.
Keep a garden journal that documents your seed saving activities. Record which plants you saved seeds from, any cross-pollination concerns you managed, germination test results, and performance notes from the following season. Over the years, this journal becomes an invaluable resource that helps you continuously improve your seed stock. For guidance on garden planning throughout the year, check our seasonal garden planning guide.
Tips for Success
Seed saving is part science, part art, and part patience. Here are some practical tips to help you succeed from the start.
Start Simple
Begin with self-pollinating crops like tomatoes, beans, peas, and lettuce. These require minimal isolation and are forgiving of beginner mistakes. Once you have mastered these, move on to insect-pollinated crops that require more careful management.
Save Seeds from Your Best Plants
Never save seeds from weak, diseased, or underperforming plants. You are not just saving seeds. You are selecting the genetics for your future garden. Always choose seeds from plants that showed the traits you value most: vigor, flavor, disease resistance, productivity, and beauty. This selective pressure is what makes saved seeds increasingly valuable over time.
Allow Seeds to Mature Fully
One of the most common mistakes in seed saving is harvesting seeds before they are fully mature. Immature seeds have low viability and poor storage life. For most crops, this means waiting far longer than you would wait to eat the fruit or vegetable. A tomato meant for seed saving should be very ripe, even overripe by eating standards. A bean seed should be completely dry and hard on the plant.
Keep Varieties Separate
When processing multiple varieties, work with one at a time and clean all equipment between batches. It is surprisingly easy to accidentally mix seeds, and once they are mixed, there is no way to tell them apart. Label everything immediately, never rely on memory.
Share and Trade
Seed saving becomes even more rewarding when shared. Join a local seed swap or online seed trading community. Exchanging seeds with other gardeners expands your variety collection, introduces you to locally adapted varieties you might never find in catalogs, and strengthens the gardening community. Many libraries and community centers now host seed libraries where gardeners can check out and return seeds, just like books.
Common Seed Saving Mistakes to Avoid
Even experienced gardeners make seed saving errors. Here are the most common pitfalls and how to avoid them.
Saving seeds from hybrid plants. Seeds from F1 hybrids will not grow true to type. Always check whether your plants are open-pollinated or hybrid before investing time in seed saving.
Insufficient drying. Seeds that feel dry on the surface may still harbor moisture internally. When in doubt, dry for an extra week. The consequences of under-drying are far worse than over-drying.
Poor labeling. It is remarkably easy to forget which variety a jar of seeds contains, especially months later. Label immediately and thoroughly.
Ignoring cross-pollination. If you save seeds from a squash plant that crossed with a neighbor's different variety, you will get unpredictable results the following year. Know your crop's pollination habits and take appropriate precautions.
Storing seeds in warm, humid conditions. A kitchen counter may be convenient, but heat and humidity destroy seed viability. Invest in a cool, dark storage location for your seed collection.
Building Your Seed Library Over Time
Seed saving is not a one-time activity but a long-term practice that deepens your relationship with your garden. Over several years of saving, selecting, and replanting, you develop a collection of varieties that are uniquely adapted to your specific growing conditions. This is a living library that improves with each generation.
Start your seed saving journey this season. Choose two or three crops you already grow, allow a few plants to go to seed, and follow the appropriate processing method for each. The first time you plant seeds you saved yourself and watch them grow into healthy, productive plants, you will understand why gardeners have been doing this for thousands of years. It is one of the most satisfying aspects of growing your own food, and it pairs beautifully with other self-sufficiency practices like building a vegetable garden from scratch and worm composting.
Frequently Asked Questions
Can I save seeds from store-bought vegetables?
It depends. Seeds from open-pollinated and heirloom varieties purchased at farmers' markets or grown in home gardens are generally viable. However, many grocery store vegetables are hybrids, and their seeds will not grow true to type. Organic produce is more likely to be open-pollinated, but there is no guarantee. The safest approach is to save seeds from plants you grew yourself from known open-pollinated varieties.
How many plants do I need to save seeds from?
For self-pollinating crops like tomatoes, beans, and lettuce, saving seeds from just one or two plants is sufficient to maintain genetic health. For cross-pollinating crops like squash, corn, and brassicas, save seeds from at least five to ten plants to maintain adequate genetic diversity and prevent inbreeding depression. The more plants you save from, the healthier your seed stock will be.
Do saved seeds need to be refrigerated?
Refrigeration is not strictly necessary but significantly extends seed life. Seeds stored at room temperature (70 degrees Fahrenheit) in a dry, dark location remain viable for one to three years depending on the species. The same seeds stored in a refrigerator (35 to 45 degrees Fahrenheit) in an airtight container with desiccant can last three to ten years or more. If you plan to build a long-term seed library, refrigeration is the way to go.
How do I know if my seeds are still good after several years?
Perform a germination test as described earlier in this guide. Place ten seeds on a damp paper towel, keep them warm and moist, and count how many sprout. This gives you a germination percentage that helps you decide whether the seeds are worth planting. If germination drops below 50 percent, you can still use the seeds by planting them more thickly, but you should consider replacing the stock with fresher seeds.
Can I save seeds from container-grown plants?
Absolutely. Container-grown plants produce seeds just as well as in-ground plants, sometimes better because the controlled growing environment reduces stress. The same seed saving techniques apply. If your containers are on a balcony or patio where cross-pollination from neighbors' gardens is a concern, take extra precautions with isolation for cross-pollinating crops. Self-pollinating crops like tomatoes and beans are perfectly safe to save from containers.