What Is Vermicomposting
Vermicomposting is the practice of using worms to break down food scraps and organic waste into a dark, crumbly, nutrient-rich material called worm castings. It is one of the most efficient forms of composting, producing a finished product that is widely regarded as the single best soil amendment available to gardeners. Worm castings contain a perfect balance of nutrients, beneficial microorganisms, and growth-promoting compounds that dramatically improve soil health and plant growth.
Unlike traditional hot composting, vermicomposting works at room temperature, produces no odor when managed properly, and can be done entirely indoors. This makes it ideal for apartment dwellers, people with small yards, and anyone who wants to compost year-round regardless of outdoor weather conditions. A compact worm bin fits easily under a kitchen sink, in a closet, in a basement corner, or even in a garage. The worms work quietly twenty-four hours a day, seven days a week, converting your kitchen waste into garden gold.
The science behind vermicomposting is elegant in its simplicity. Worms eat organic matter and digest it along with the microorganisms that pre-decompose the food. As the material passes through the worm's gut, it is ground into fine particles, enriched with beneficial enzymes and microbes, and excreted as castings. These castings are a complete, slow-release fertilizer that also improves soil structure, increases water retention, suppresses plant diseases, and promotes root growth. Research consistently shows that plants grown in soil amended with worm castings outperform those grown with synthetic fertilizers alone.
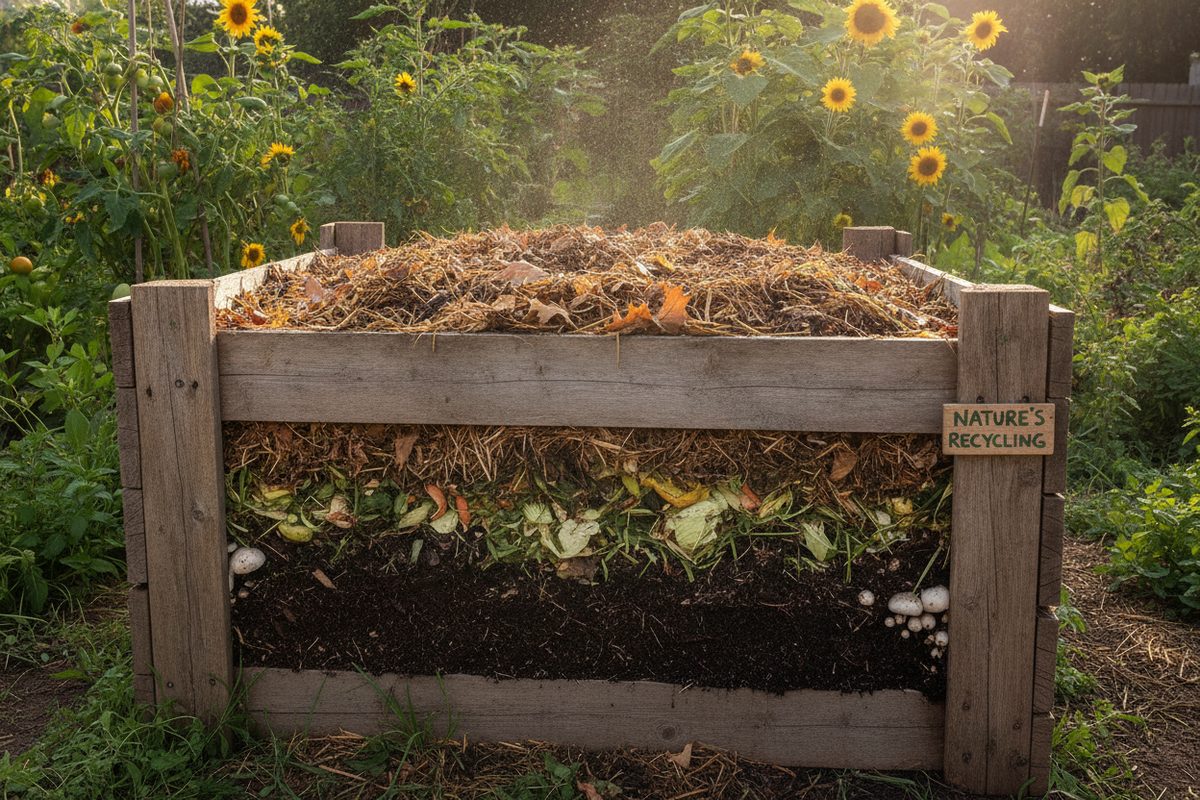
If you are already practicing traditional composting at home, adding a worm bin lets you process food scraps year-round, including during winter when your outdoor pile is dormant. The two systems complement each other beautifully: outdoor composting handles yard waste and bulk materials, while the worm bin processes kitchen scraps efficiently and produces a premium soil amendment. Together, they create a comprehensive waste reduction and soil improvement system.
Choosing the Right Worms
Not all worms are suitable for vermicomposting. The two main species used are red wigglers (Eisenia fetida) and European nightcrawlers (Eisenia hortensis), each with different characteristics.
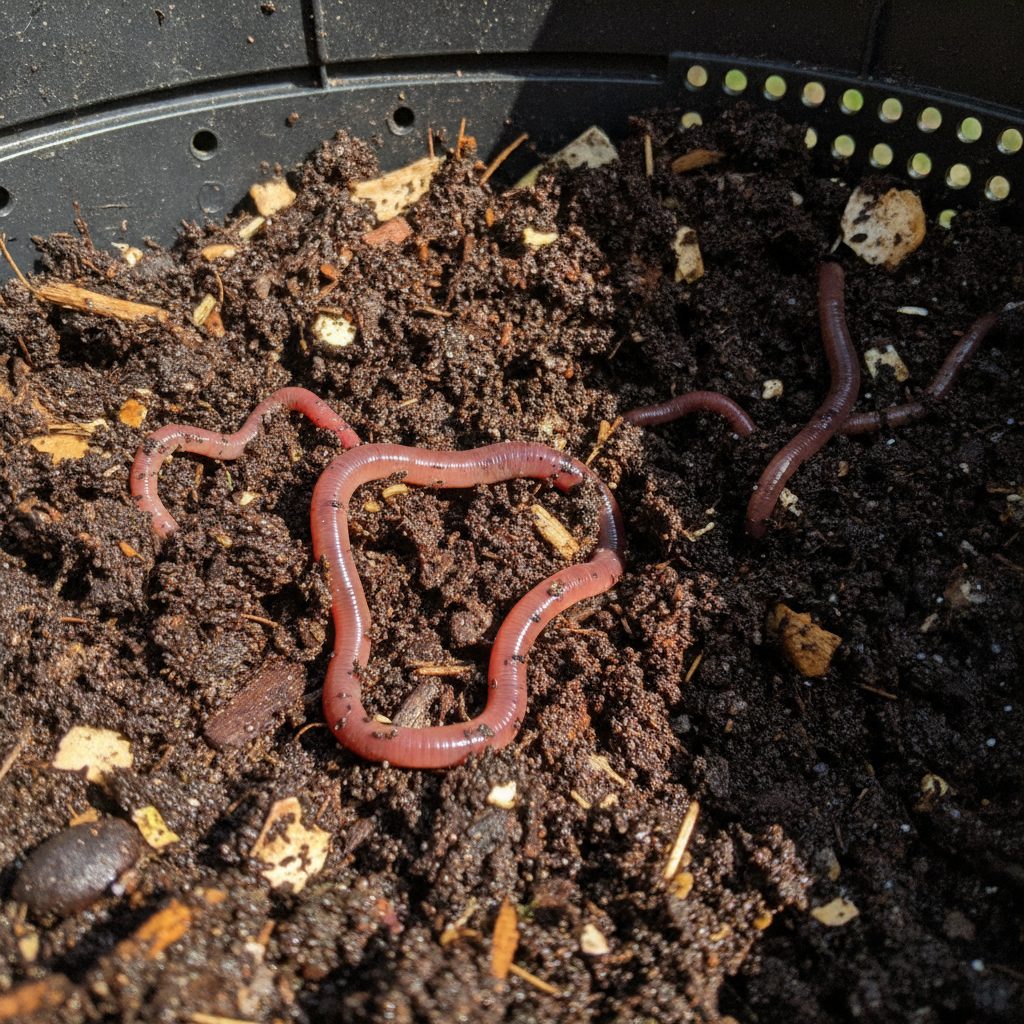
Red Wigglers (Eisenia fetida)
Red wigglers are the gold standard for vermicomposting and the species we recommend for beginners. They are surface dwellers that naturally live in the top few inches of soil and decaying organic matter, which makes them perfectly adapted to life in a shallow bin. Red wigglers eat approximately half their body weight in food per day, meaning one pound of worms can process about half a pound of kitchen scraps daily. They reproduce quickly under good conditions, doubling their population every two to three months. A starting population of one pound (roughly one thousand worms) is sufficient for a standard household worm bin.
Red wigglers thrive in temperatures between 55 and 77 degrees Fahrenheit, which aligns perfectly with normal indoor room temperature. They tolerate a wider range of conditions than most other worm species, which is one reason they are so forgiving for beginners. They do not burrow deeply, preferring to stay in the upper layers of bedding and food, which makes harvesting castings relatively straightforward.
European Nightcrawlers (Eisenia hortensis)
European nightcrawlers are larger than red wigglers and process food slightly slower, but they produce larger castings and are also excellent for fishing bait if you enjoy that hobby. They tolerate slightly cooler temperatures than red wigglers and are a good choice for unheated basements or garages. They are slightly more sensitive to handling and disturbance, so they are better suited for gardeners who have some experience with vermicomposting. You can even keep a mixed population of both species in the same bin for the best of both worlds.
Where to Buy Worms
Purchase worms from a reputable vermicomposting supplier, bait shop, or garden center. Avoid collecting earthworms from your garden for use in a worm bin, as common garden earthworms (Lumbricus terrestris) are deep burrowers that do not thrive in bin conditions. Expect to pay fifteen to thirty dollars for a pound of red wigglers, which is enough to start a productive bin. Order worms during mild weather to avoid extreme temperatures during shipping.
Types of Worm Bins
You can build a functional worm bin from almost any container or purchase a purpose-built commercial system. Each option has its advantages.
DIY Plastic Bin
A simple plastic storage tote makes an excellent, inexpensive worm bin. A standard eighteen-gallon Rubbermaid-style tote with a lid costs less than ten dollars and can be converted into a working worm bin in under thirty minutes. This is the most popular option for beginners and the one we will walk through in detail below. The opaque plastic keeps light out (worms are light-sensitive) and retains moisture well. The main limitation is that harvesting requires manually separating worms from finished castings, which can be time-consuming.
Stacking Tray System
Commercial stacking tray systems like the Worm Factory 360 or Urban Worm Bag use multiple shallow trays stacked vertically. Food is added to the top tray, and worms migrate upward as they consume the food, leaving finished castings in the lower trays for easy harvesting. This design eliminates the need to manually separate worms from castings and makes the harvesting process much simpler. The downside is the cost, which ranges from fifty to one hundred fifty dollars. However, the convenience and ease of harvesting make stacking systems a worthwhile investment once you are committed to vermicomposting.
Wooden Bin
A wooden bin made from untreated plywood or cedar provides excellent breathability and moisture regulation. Wood absorbs and releases moisture naturally, creating a stable environment for worms. The drawback is that wood eventually rots from the constant moisture, limiting the bin's lifespan to three to five years. If you enjoy woodworking and have access to untreated lumber, a wooden bin is a beautiful and functional option.
Building a DIY Worm Bin Step-by-Step
This project takes about thirty minutes and costs under twenty dollars. You will need a few basic supplies and tools.
Materials
- One eighteen-gallon opaque plastic storage tote with lid
- Drill with one-eighth inch and one-quarter inch drill bits
- Newspaper (black and white pages only) or cardboard
- A handful of garden soil or finished compost
- One pound of red wiggler worms
Step 1: Prepare the Bin
Drill approximately twenty one-eighth inch holes in the bottom of the tote for drainage. These holes allow excess moisture to drain out, preventing the bin from becoming waterlogged. Next, drill ten to fifteen one-quarter inch holes along the upper sides of the tote, near the rim, for air circulation. These ventilation holes ensure adequate oxygen reaches the worms. Place the tote on a tray, second tote lid, or shallow pan to catch the drainage liquid, which is a mild liquid fertilizer called leachate.
Step 2: Prepare the Bedding
Tear newspaper into one to two inch wide strips. Avoid glossy pages, colored inserts, and pages with heavy ink coverage. Soak the strips in water for a few minutes, then wring them out so they are damp but not dripping. The bedding should feel like a wrung-out sponge. Fill the bin three-quarters full with these damp newspaper strips, fluffing them as you add them to create air pockets. Alternatively, you can use shredded cardboard, coconut coir, or a combination of these materials.
Step 3: Add Grit and Starter
Worms do not have teeth. They grind food in a muscular gizzard using grit, much like a chicken. Sprinkle a handful of garden soil, ground eggshells, or rock dust over the bedding to provide this grit. Also add a handful of finished compost or garden soil to introduce beneficial microorganisms that will help break down food before the worms eat it.
Step 4: Add the Worms
Gently place the worms on top of the bedding. Do not bury them. Close the lid and leave the bin in a quiet, dark location for two to three days. The worms will burrow into the bedding on their own as they acclimate to their new home. Keep the bin at room temperature, between 55 and 77 degrees Fahrenheit. A basement, closet, under the kitchen sink, or laundry room are all good locations.
Step 5: Begin Feeding
After two to three days, begin feeding your worms small amounts of food scraps. Start with a handful of food buried under the bedding in one corner of the bin. Wait until the worms have consumed most of the first feeding before adding more. Over the first two weeks, gradually increase the amount and frequency of feeding as the worms settle into their new environment. Within a month, your bin should be processing food regularly and you will have a stable, productive vermicomposting system.
Bedding Materials
Bedding serves as the worms' home and a source of carbon. It must be moist, fluffy, and free of chemicals. The best bedding materials include:
- Newspaper strips: The most commonly used bedding. Tear into strips, soak, and wring out. Avoid glossy or heavily colored pages.
- Cardboard: Shredded corrugated cardboard provides excellent structure and air pockets. Remove tape and staples.
- Coconut coir: A sustainable alternative to peat moss that holds moisture well and resists compaction. Available in compressed bricks at garden centers.
- Shredded leaves: Fallen leaves make excellent free bedding in autumn. Shred them first to prevent matting.
- Aged compost: Can be used alone or mixed with other materials for added microbial activity.
Maintain bedding moisture at the level of a wrung-out sponge. If the bin is too dry, worms will try to escape. If it is too wet, they can drown or the bin will develop anaerobic conditions. Add dry bedding when things get too wet, and sprinkle water when things get too dry. The bedding also serves as a carbon source that balances the nitrogen-rich food scraps. If you notice the bin becoming slimy or smelly, add more dry bedding to restore the carbon-nitrogen balance.
Feeding Your Worms
Worms eat their body weight in food per day, but it takes time for the microorganisms that pre-decompose the food to establish. Start with smaller amounts than you think you need and increase as the system matures.
How to Feed
Always bury food scraps under the bedding to prevent fruit flies and odors. Choose a different spot each time you feed to distribute the food evenly throughout the bin. A good practice is to divide the bin into four quadrants and rotate feeding between them. By the time you return to the first quadrant, the food from the previous feeding should be largely consumed.
Cut or blend food scraps into small pieces before adding them to the bin. Smaller pieces have more surface area, which allows microorganisms and worms to break them down faster. Some vermicomposters keep a small container in the freezer and collect scraps throughout the week, then thaw and add them all at once on feeding day. Freezing also breaks down cell walls in the food, making it even faster to decompose.
How Much to Feed
A general rule of thumb is that one pound of worms can eat about half a pound of food per day. However, this varies based on temperature, the type of food, and the maturity of the bin. In practice, watch the bin and adjust. If food is accumulating and not being eaten, reduce feeding. If the worms are consuming everything quickly and seem active and healthy, you can increase the amount. After a few weeks of observation, you will develop an intuition for how much your worms can handle.
What to Feed Worms
Knowing what to feed and what to avoid is essential for a healthy worm bin.
| Feed Freely | Feed in Moderation | Avoid |
|---|---|---|
| Fruit scraps (apple, banana, melon, berries) | Citrus peels (small amounts only) | Meat, fish, and bones |
| Vegetable scraps (lettuce, carrot, cucumber) | Onion and garlic (small amounts) | Dairy products (cheese, milk, yogurt) |
| Coffee grounds and paper filters | Bread and pasta (small amounts) | Fats, oils, and grease |
| Tea bags (remove staples) | Rice (cooked, small amounts) | Spicy peppers and hot sauce |
| Crushed eggshells | Cereal and grains | Pet waste (dog, cat) |
| Shredded newspaper and cardboard | Garden trimmings (non-woody) | Glossy or coated paper |
| Avocado skins and pits | Old flowers and plant material | Treated or painted wood |
| Coconut coir and peat moss | Worm bedding as food source | Salty or processed foods |
Why Certain Foods Are Problematic
Meat, dairy, and oily foods attract pests and create anaerobic conditions that produce foul odors. Citrus in large quantities creates acidic conditions that worms cannot tolerate. Spicy foods contain capsaicin that can irritate worms. Salty foods create osmotic stress. Processed foods often contain preservatives that slow decomposition and may harm worms. Stick to fresh, plant-based food scraps and your worms will thrive.
Harvesting Worm Castings
After three to six months, the bedding and food in your bin will have been converted into dark, crumbly worm castings. It is time to harvest this valuable material and start fresh.
The Migration Method
This is the easiest method for beginners. Move all the finished castings to one side of the bin. Add fresh bedding and food scraps to the empty side. Over the next one to two weeks, the worms will migrate toward the fresh food, leaving the finished castings relatively worm-free. You can then scoop out the castings and use them in your garden.
The Dump and Sort Method
Empty the entire bin contents onto a tarp in bright light. Worms are photophobic and will burrow away from the light. Form small cone-shaped piles and wait fifteen to twenty minutes. The worms will move to the center and bottom of each pile. Scrape the outer layer of castings off each pile and repeat until you have a ball of worms in the center. Return the worms to the bin with fresh bedding and food. This method is faster but more labor-intensive.
Using Castings in the Garden
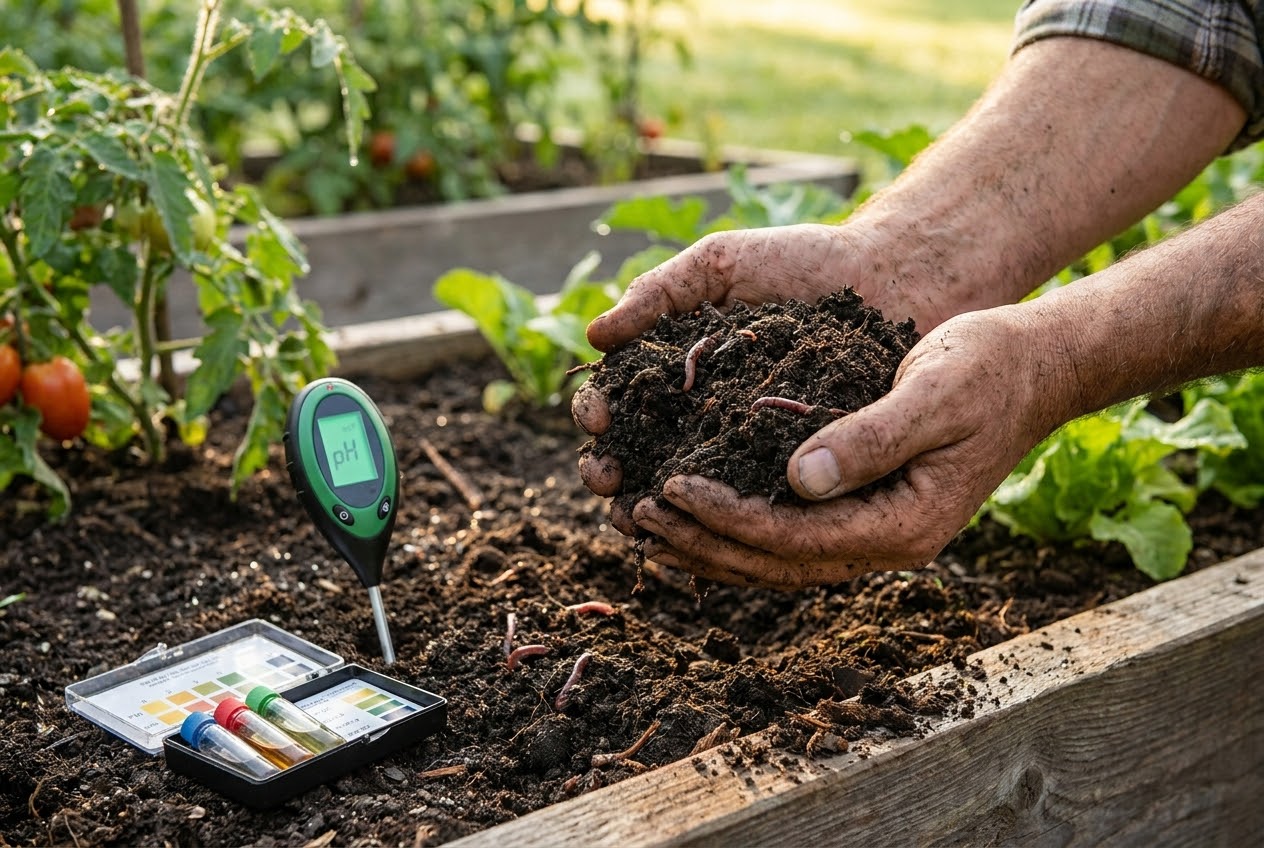
Worm castings can be used in several ways. Mix them into potting soil at a ratio of one part castings to three or four parts soil for houseplants and containers. Side-dress vegetable garden plants by spreading a thin ring of castings around each plant and watering in. Make a casting tea by steeping castings in water for twenty-four hours and using the liquid as a foliar spray or soil drench. For more on building healthy soil, see our soil testing and amendment guide.
Using Worm Tea
Worm tea is a liquid extract made by steeping worm castings in water. It provides many of the same benefits as castings in a form that can be applied as a spray or drench.
How to Make Worm Tea
Fill a five-gallon bucket with non-chlorinated water. If your tap water is chlorinated, let it sit uncovered for twenty-four hours to allow the chlorine to dissipate. Add one to two cups of worm castings to a burlap bag or old pillowcase and submerge it in the water. For an aerated tea that promotes beneficial microbial growth, add an aquarium pump with an air stone and brew for twenty-four to forty-eight hours. The bubbling action multiplies beneficial microorganisms and creates a more potent brew.
How to Apply Worm Tea
Use worm tea within forty-eight hours of brewing for maximum microbial benefit. Apply it as a soil drench by pouring it directly around plant roots, or dilute it to a light tea color and use it as a foliar spray on plant leaves. The foliar application delivers beneficial microorganisms directly to leaf surfaces where they can outcompete disease-causing organisms. Apply worm tea every two to four weeks during the growing season for best results. If you are growing a cutting garden, worm tea helps produce stronger stems and more vibrant blooms.
Troubleshooting Common Problems
Most vermicomposting problems are easy to fix once you identify the cause.
| Problem | Likely Cause | Solution |
|---|---|---|
| Worms trying to escape | Bin too wet, too dry, too acidic, or new bin acclimation | Check moisture, add dry bedding, reduce citrus. New worms may explore for a few days before settling. |
| Bad smell from bin | Anaerobic conditions from overfeeding or too much moisture | Stop feeding for a week, add dry bedding, improve ventilation, stir gently |
| Fruit flies in bin | Exposed food scraps on surface | Bury food under bedding, reduce feeding amount, add a layer of dry bedding on top |
| Bin is too wet | Too many water-rich foods (melon, cucumber), not enough bedding | Add dry shredded newspaper or cardboard, improve drainage holes, reduce wet food |
| Bin is too dry | Not enough moisture, ventilation holes drying out bedding | Spray bedding with water, cover ventilation holes partially, add watermelon rinds |
| Worms not eating | Temperature too extreme, overfeeding, pH imbalance | Move bin to 55-77F location, remove uneaten food, add crushed eggshells for pH |
| Mold growing in bin | Normal decomposition; excess food | Reduce feeding, mix bedding, mold is harmless and will be consumed |
| Slow population growth | Insufficient food, temperature too low, overcrowding | Increase feeding, ensure room temperature, harvest and split bin if overcrowded |
Frequently Asked Questions
Can I keep a worm bin in my apartment?
Absolutely. Worm bins produce no odor when properly managed and can fit in a kitchen cabinet, under the sink, in a closet, or in any other room-temperature indoor space. Many apartment dwellers successfully vermicompost year-round. The key is managing moisture, not overfeeding, and always burying food scraps under bedding. A well-maintained worm bin is completely undetectable to visitors, which is one of the major advantages of vermicomposting over traditional outdoor composting.
How many worms do I need to start?
One pound of red wigglers, approximately one thousand worms, is sufficient to start a standard eighteen-gallon bin. This initial population will process about half a pound of food per day and will double in number every two to three months under good conditions. You can start with fewer worms, but it will take longer for the population to build up to the point where it can process a full household's kitchen waste. If budget allows, starting with two pounds gets your bin to full capacity faster.
Will my worm bin smell bad?
A properly managed worm bin should have a pleasant, earthy smell similar to a forest floor. Bad odors indicate a problem, usually overfeeding, too much moisture, or anaerobic conditions. If your bin smells, stop feeding for a few days, add dry bedding to absorb excess moisture, and gently stir the top layer to introduce air. Avoid adding meat, dairy, or oily foods, which are the primary causes of odor problems. If you follow the feeding guidelines and maintain proper moisture, smell should never be an issue.
What do I do with my worm bin when I go on vacation?
Red wigglers can survive for two to four weeks without feeding if the bin is well-established. Before leaving, add a generous layer of food scraps and extra bedding, and make sure the moisture level is right. For longer vacations, ask a friend or neighbor to add a handful of food scraps once a week. Overfeeding before a trip is worse than underfeeding, as excess uneaten food will rot and create anaerobic conditions. The worms will be fine eating the bedding itself for extended periods.
How long does it take to get usable worm castings?
From the time you set up your bin, expect to wait three to six months before you have enough finished castings to harvest. The timeline depends on how many worms you start with, how much you feed them, and the temperature conditions. Warmer temperatures within the ideal range speed up processing. Once your bin is established and the worm population has grown, you can harvest castings every two to three months on an ongoing basis. The quality of worm castings is worth the wait: they are significantly more nutrient-dense and microbially active than regular compost, making them one of the best amendments for your garden beds, especially when combined with practices like proper mulching.