Introduction
If you could grow one of the most nutrient-dense foods on the planet in just seven to fourteen days, on your kitchen counter, with no garden, no sunlight, and no special skills required, would you do it? That is exactly what microgreens offer. These tiny, tender seedlings pack a nutritional punch that can be four to forty times greater than their mature counterparts, according to research from the University of Maryland. And they taste incredible, ranging from mild and sweet to peppery and spicy depending on the variety.
Microgreens are simply young vegetable or herb plants harvested shortly after the first true leaves appear, typically seven to twenty-one days after germination. They are not sprouts (which are germinated seeds eaten root and all) and not baby greens (which are harvested later). They occupy a unique space in between, offering the concentrated nutrition of seeds in their peak metabolic burst combined with the fresh, delicate flavor of young leaves.
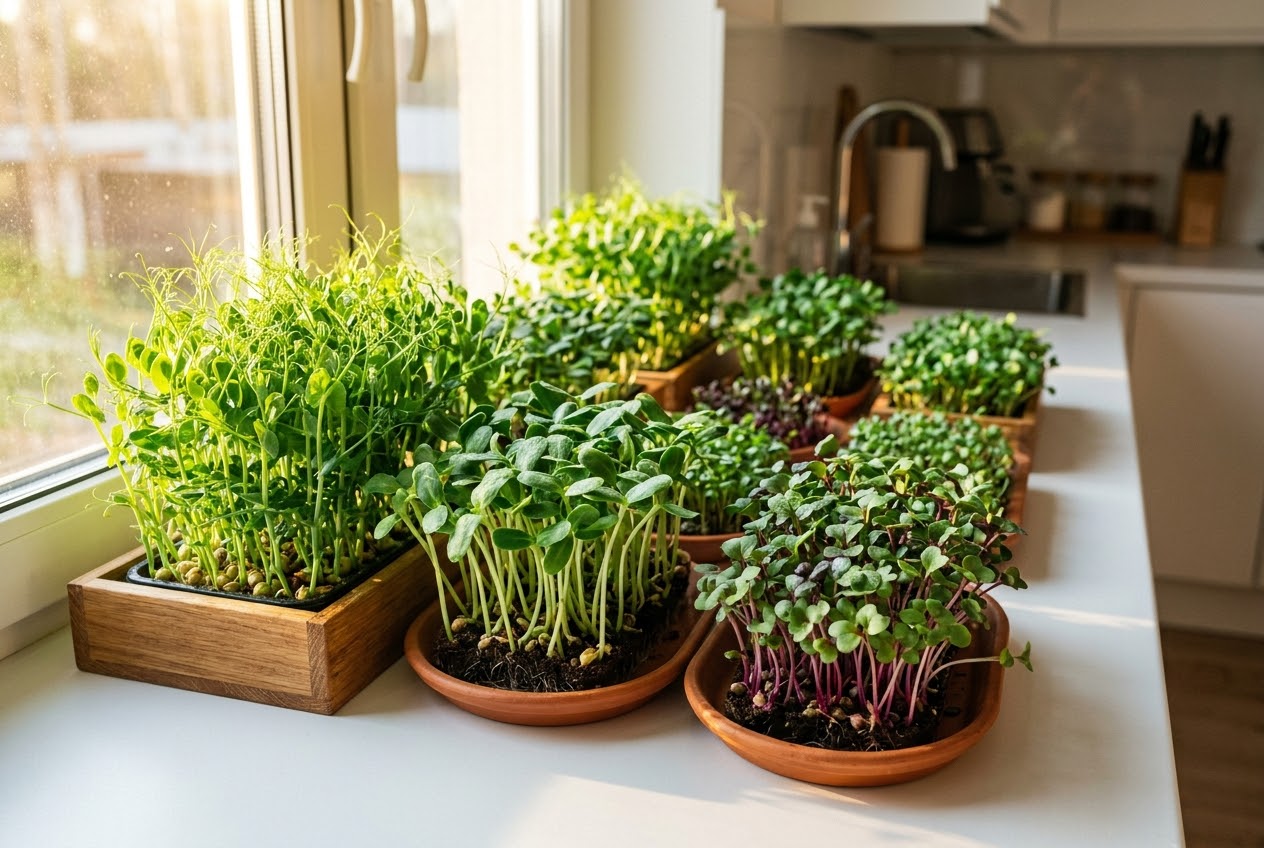
Growing microgreens at home is one of the most accessible and rewarding gardening activities you can undertake. It requires minimal space, minimal equipment, and almost no experience. A single ten-by-twenty-inch tray can produce several ounces of fresh greens every week, year-round. Whether you are a seasoned gardener looking for a winter project or a complete beginner who has never planted a seed, this guide will walk you through everything you need to know to grow microgreens at home successfully.
What Are Microgreens?
Microgreens are seedlings harvested at a very young stage, typically when the first pair of true leaves (the leaves that look like miniature versions of the adult plant's leaves) has fully developed. This usually occurs seven to twenty-one days after sowing, depending on the species. The entire plant above the soil line is harvested: the stem, the cotyledon leaves (the seed leaves that appear first), and the true leaves.
The concept of eating young plant shoots is ancient, with records of their use in Chinese cuisine dating back centuries. But the modern microgreen movement began in the 1980s in San Francisco, where upscale restaurants began using them as garnishes. Today, microgreens are a mainstream food crop grown commercially and at home worldwide.
Microgreens should not be confused with sprouts. Sprouts are germinated seeds consumed whole, including the root, seed coat, and shoot. They are grown in water without soil and are harvested within two to three days. Sprouts carry a higher risk of bacterial contamination because the warm, moist conditions required for sprouting also favor the growth of pathogens like Salmonella and E. coli. Microgreens, grown in soil or a growing medium with good air circulation, carry a much lower risk and are generally considered safer to eat raw.
Nutritional Benefits of Microgreens
The nutritional profile of microgreens is remarkable. A 2012 study published in the Journal of Agricultural and Food Chemistry analyzed twenty-five different varieties of microgreens and found that they contained significantly higher concentrations of vitamins, minerals, and antioxidants than their mature counterparts. Red cabbage microgreens, for example, had six times more vitamin C than mature red cabbage. Cilantro microgreens had three times more beta-carotene than mature cilantro.
The reason for this nutritional density is simple: seeds contain a concentrated store of nutrients designed to fuel rapid early growth. When a seed germinates, it activates this nutritional reserve in a metabolic burst that peaks just as the first true leaves emerge. By harvesting at this stage, you capture nutrients at their highest concentration.
Key nutrients found in high concentrations in microgreens include vitamin C, vitamin E, vitamin K, beta-carotene (a precursor to vitamin A), lutein, and various polyphenol antioxidants. The exact nutritional profile varies by species, but the general pattern is consistent: microgreens are nutritional powerhouses that deserve a place in every healthy diet.
Equipment You Need
One of the best things about growing microgreens is how little equipment you need. Here is the essential list.
Trays or Containers
Standard nursery trays (ten by twenty inches, also called 1020 trays) are the most popular choice. You need two trays per planting: one with drainage holes for the growing medium, and one without holes to catch water underneath. You can also use shallow containers like takeout clamshels, baking dishes, or repurposed deli containers. Whatever you use must have drainage holes (or you must poke some) and be at least one to two inches deep.
Growing Medium
Microgreens need a light, fine-textured growing medium that retains moisture without becoming waterlogged. The three most common options are potting mix (a quality, fine-textured organic potting mix works well), coconut coir (a sustainable peat alternative made from coconut husk fibers), and specialized microgreen growing mats (hemp, jute, or bamboo mats designed specifically for microgreens). Avoid heavy garden soil, which compacts and drains poorly in shallow trays.
Seeds
Use seeds specifically sold for microgreen growing whenever possible. These are untreated (no fungicides or pesticides), tested for germination rate, and sold in quantities appropriate for dense sowing. Regular garden seeds work too, but buy them from reputable suppliers and ensure they are not treated with chemical coatings. You will need one to two tablespoons of small seeds (like broccoli or kale) or two to four tablespoons of larger seeds (like sunflower or pea) per standard tray.
Light Source
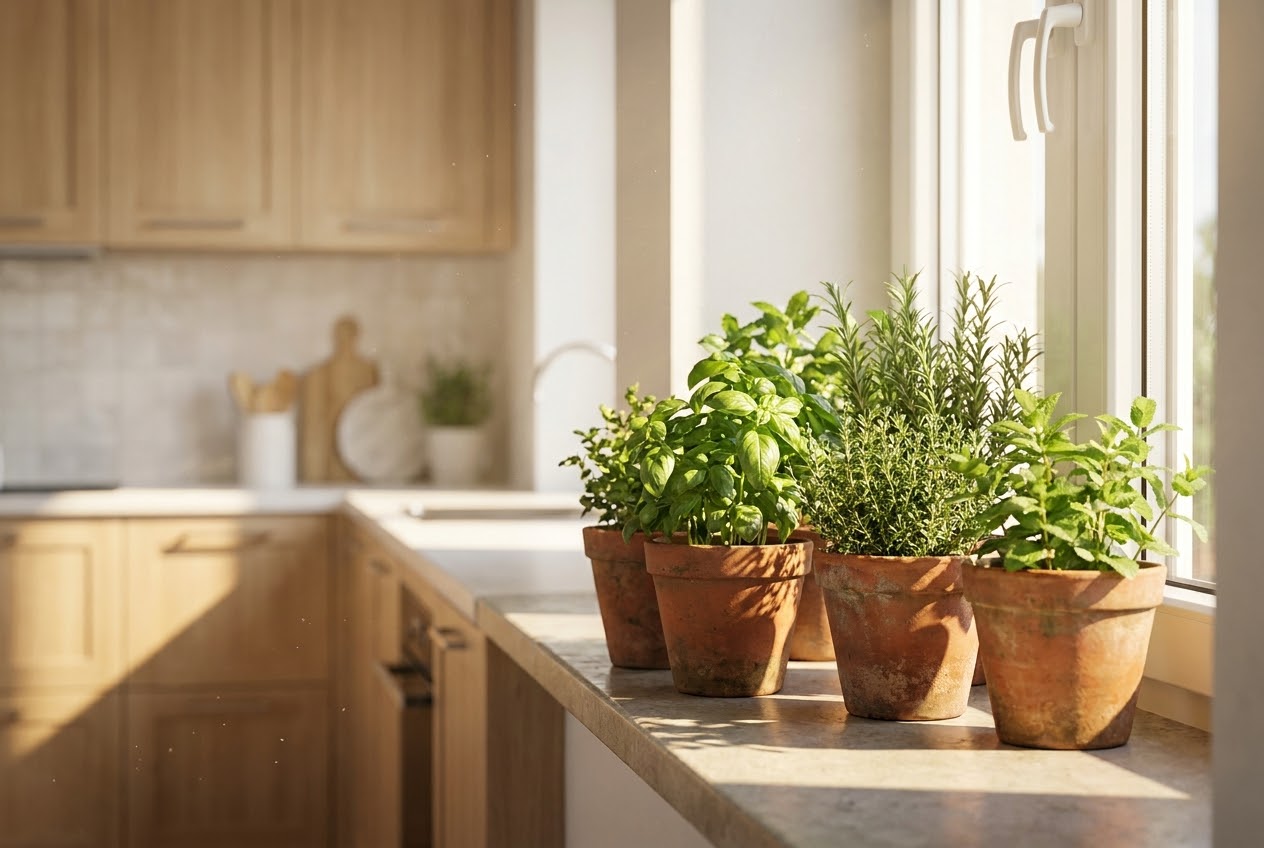
A sunny windowsill (south-facing is ideal) provides enough light for most microgreens. If natural light is insufficient, especially in winter, a basic LED grow light or a daylight-spectrum fluorescent shop light works perfectly. Position the light two to four inches above the tray and run it for twelve to sixteen hours per day. For more on indoor growing setups, see our indoor herb growing guide.
Spray Bottle and Watering Can
A spray bottle is essential for misting during the germination phase. After the greens are established, you can water from below by pouring water into the catch tray and letting the growing medium wick it up. This prevents damping-off disease and keeps the greens dry.
Top Microgreen Varieties to Grow
Almost any vegetable or herb can be grown as a microgreen, but some varieties are easier, faster, and more rewarding than others. Here are the best choices for home growers.
Sunflower Microgreens
Sunflower microgreens are the most popular variety for good reason. They have a mild, nutty flavor, a satisfying crunch, and a substantial texture that makes them suitable for salads, sandwiches, and wraps. They are rich in vitamins A, B, D, and E, zinc, iron, and essential amino acids. Soak sunflower seeds for eight to twelve hours before planting to speed germination. They are ready to harvest in eight to twelve days.
Pea Microgreens
Pea microgreens taste exactly like fresh spring peas, sweet, bright, and delightful. They are tall, with curly tendrils that add elegance to any dish. Like sunflowers, they should be soaked before planting (for eight to twelve hours). They are ready in eight to fourteen days and are an excellent source of vitamins A and C, folate, and fiber.
Radish Microgreens
For a spicy kick, radish microgreens are hard to beat. They have a bold, peppery flavor similar to mature radishes but more concentrated. They come in several colors, from bright red stems to vivid green, making them visually striking as well. Radish microgreens are among the fastest to grow, ready in just five to seven days, and they are rich in vitamin C, folate, and potassium.
Broccoli Microgreens
Broccoli microgreens gained fame for their exceptionally high levels of sulforaphane, a compound with potent antioxidant and anti-inflammatory properties. Studies suggest broccoli microgreens contain up to fifty times more sulforaphane than mature broccoli. They have a mild, slightly bitter flavor and are ready in eight to twelve days. They are easy to grow and an excellent choice for beginners.
Wheatgrass
Wheatgrass is technically a microgreen, grown for juicing rather than eating whole. It is exceptionally rich in chlorophyll, vitamins A, C, and E, and amino acids. Soak wheat berries for eight to twelve hours before planting. Wheatgrass is ready to harvest in seven to ten days, when it reaches six to eight inches tall. Cut it at the base and juice it immediately for maximum nutritional benefit.
Other Excellent Varieties
Kale microgreens are mild and nutritious, packed with vitamins K and C. Basil microgreens offer intense basil flavor in a delicate, tiny package. Cilantro microgreens deliver bright, citrusy flavor that enhances any dish. Amaranth microgreens have stunning magenta stems and a mild, earthy flavor. Beet microgreens display beautiful red stems and have a subtle beet flavor. Mustard microgreens bring sharp, horseradish-like heat.
| Variety | Days to Harvest | Flavor | Difficulty | Nutrition Highlight |
|---|---|---|---|---|
| Sunflower | 8-12 | Mild, nutty, crunchy | Easy | Vitamins A, B, D, E, zinc |
| Pea | 8-14 | Sweet, fresh pea flavor | Easy | Vitamins A, C, folate |
| Radish | 5-7 | Spicy, peppery | Very easy | Vitamin C, folate, potassium |
| Broccoli | 8-12 | Mild, slightly bitter | Easy | Sulforaphane (50x mature) |
| Wheatgrass | 7-10 | Sweet, grassy (for juicing) | Easy | Chlorophyll, amino acids |
| Kale | 8-12 | Mild, slightly sweet | Easy | Vitamins K, C, calcium |
| Basil | 12-18 | Intense basil aroma | Moderate | Vitamin K, iron, manganese |
| Cilantro | 14-21 | Bright, citrusy | Moderate | Beta-carotene, vitamin K |
| Amaranth | 8-12 | Mild, earthy | Moderate | Protein, iron, fiber |
| Beet | 10-14 | Subtle beet flavor | Easy | Iron, potassium, folate |
| Mustard | 5-8 | Sharp, horseradish-like | Very easy | Vitamin C, glucosinolates |
| Red Cabbage | 8-12 | Mild cabbage flavor | Easy | Vitamin C (6x mature), vitamin K |
Step-by-Step Growing Process
Follow these steps for your first tray of microgreens. Once you have done it once, the process becomes second nature.
Step 1: Prepare Your Growing Medium
Fill your tray with drainage holes about one inch deep with moistened growing medium. If using potting mix or coir, dampen it before filling the tray so it is evenly moist but not waterlogged. Press the surface gently with your hand or the bottom of another tray to create a flat, even surface. Do not compact it too firmly; the roots need loose medium to penetrate easily.
Step 2: Sow Your Seeds
Scatter seeds evenly and densely across the entire surface. For small seeds like broccoli, kale, or radish, aim for roughly ten to twelve seeds per square inch. For larger seeds like sunflower and pea, place them closer together but in a single layer. Do not cover the seeds with soil. Microgreen seeds need light to germinate or are fine sitting on the surface. Press the seeds gently into the medium with your palm to ensure good seed-to-soil contact.
Step 3: Cover for Germination
Cover the seeded tray with an inverted tray (the catch tray turned upside down) or a damp paper towel or blackout dome. This creates a dark, humid environment that encourages germination. Place the covered tray in a warm spot, 65 to 75 degrees Fahrenheit is ideal. Leave the cover on for two to four days, checking daily for signs of germination. Most seeds will sprout within one to three days.
Step 4: Uncover and Provide Light
When the seedlings have pushed the cover up (typically when they are about half an inch tall and pale yellow from growing in the dark), remove the cover and move the tray to a well-lit location. A south-facing windowsill is ideal. If natural light is insufficient, turn on your grow light and position it two to four inches above the tray. The pale seedlings will turn green within a day or two as chlorophyll develops in response to light.
Step 5: Water Regularly
Water from below by pouring water into the catch tray and letting the growing medium absorb it. Check the catch tray daily and add water whenever it is empty. The medium should remain consistently moist but never waterlogged. In dry indoor environments, you may need to water twice daily. Avoid getting water on the leaves themselves, as wet foliage can promote mold. A spray bottle is useful for gentle misting if the surface looks dry, especially during the first few days after uncovering.
Step 6: Harvest
When the microgreens have developed their first true leaves (the second pair of leaves after the cotyledon leaves) and are one to three inches tall, they are ready to harvest. This typically takes seven to fourteen days depending on the variety. Cut the stems just above the soil line using sharp scissors or a knife. Harvest only what you will use within a few days. For more tips on growing fresh greens indoors, explore our complete microgreens guide (you are reading it now).
Light Requirements in Detail
Light is one of the most important factors in growing high-quality microgreens. Insufficient light produces leggy, weak stems and pale, thin leaves. Adequate light produces compact, sturdy stems and deeply colored, nutrient-rich leaves.
A south-facing window that receives at least six hours of direct sunlight per day is usually sufficient for most varieties. East and west windows work but may produce slightly leggier growth. North-facing windows rarely provide enough light for quality microgreens.
If you are growing under artificial lights, a basic LED grow light panel (available for $20 to $50) or a daylight-spectrum LED shop light (6500K color temperature) works excellently. Position the light two to four inches above the tray. Run it for twelve to sixteen hours per day. A simple outlet timer automates this. The closer the light is to the plants, the shorter and sturdier the stems will be. If the greens start leaning or stretching toward the light, move it closer.
Watering Best Practices
Consistent moisture is critical for microgreens. Unlike mature plants that can tolerate some drought, young seedlings dry out quickly and will wilt or die if the growing medium dries out even briefly.
The best watering method is bottom watering. Pour water into the catch tray (the tray without drainage holes underneath the growing tray) and let the medium wick moisture upward through capillary action. This keeps the surface dry, which prevents mold and damping-off disease, while keeping the root zone consistently moist. Check the catch tray every day and add water when it is empty. On hot days or in dry indoor environments, you may need to water twice daily.
If the surface of the growing medium appears dry or crusty, a light misting with a spray bottle is fine, but avoid saturating the surface. Excess moisture on the surface promotes fungal growth. After misting, ensure good air circulation around the tray to dry the leaves quickly. A small fan on a low setting nearby provides gentle airflow without drying out the medium too quickly.
Harvesting and Storage
Harvest microgreens when they are one to three inches tall and have developed their first true leaves. Cut just above the soil line with sharp scissors or a knife. Do not pull the plants out, as this brings soil and roots into your harvest.
Freshly harvested microgreens are best eaten immediately. If you need to store them, place them unwashed in a sealed container lined with a dry paper towel. The paper towel absorbs excess moisture and extends freshness. Stored this way, microgreens keep for five to seven days in the refrigerator. Do not wash them until you are ready to eat, as excess moisture accelerates spoilage.
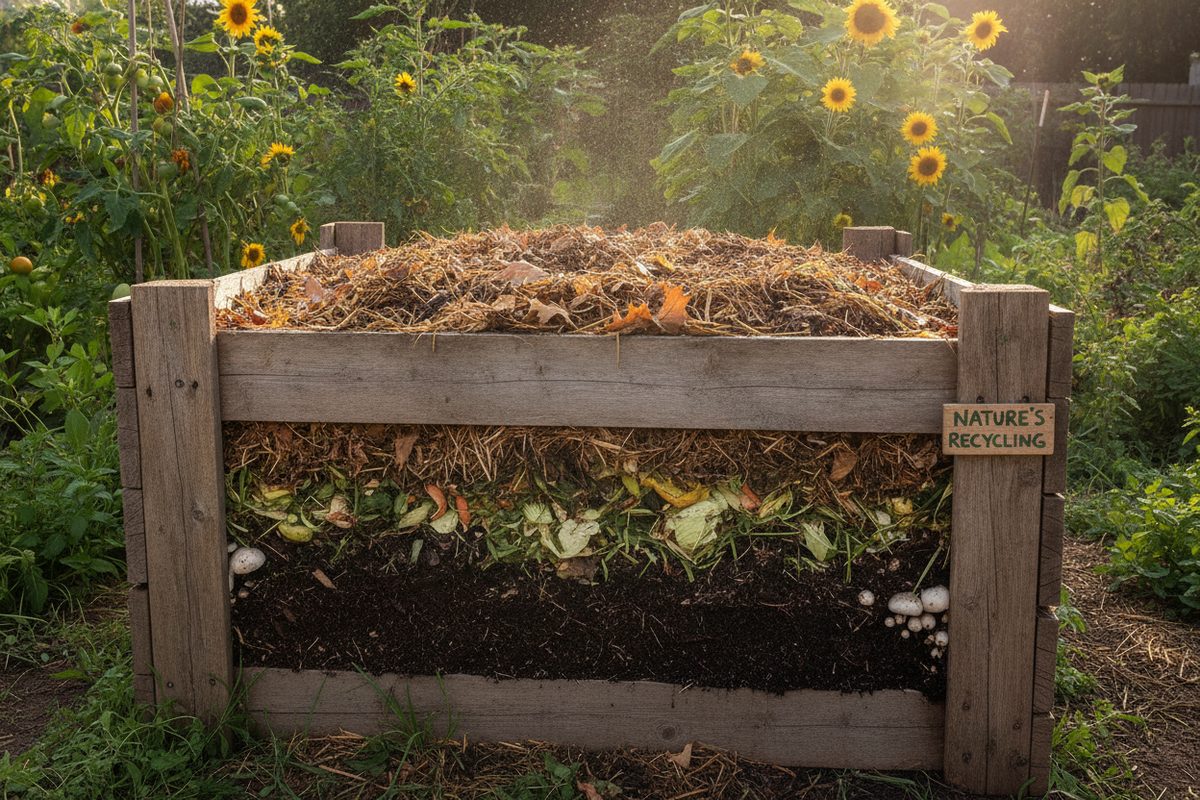
After harvesting, the spent growing medium and root mat can go directly into your compost bin. The roots and residual plant material break down quickly and add valuable organic matter to your compost.
Troubleshooting Common Problems
While microgreens are among the easiest crops to grow, a few common issues can arise. Here is how to diagnose and fix them.
Mold or Fuzzy White Growth
White, fuzzy growth on the soil surface or on the stems is the most common microgreen problem. It is usually caused by excessive moisture, poor air circulation, or overcrowded seeds. Improve airflow by adding a small fan. Reduce watering frequency and switch to bottom watering if you have been misting heavily. Ensure seeds are not piled on top of each other; dense but even sowing is fine, but clumps trap moisture. If mold appears, remove the affected area immediately and increase ventilation.
Leggy, Weak Growth
Tall, thin, pale stems that fall over indicate insufficient light. Move the tray to a brighter window or lower your grow light to two inches above the tray. Leggy greens are still edible but less visually appealing and less robust in flavor.
Seeds Not Germinating
If seeds fail to sprout within five days, the most likely causes are old seeds (low viability), insufficient moisture during germination, or temperature that is too low. Check that your seeds are within their expiration date. Ensure the medium is evenly moist during the germination phase. Move the tray to a warmer location if the room is below 65 degrees Fahrenheit.
Uneven Growth
If some areas of the tray grow well while others remain bare or stunted, the cause is usually uneven seed distribution or uneven moisture. When sowing, scatter seeds as evenly as possible. Rotate the tray daily so all sides receive equal light. Ensure the growing medium is uniformly moist before sowing.
Yellow Leaves
Pale or yellow leaves usually indicate insufficient light. Move the tray to a brighter location. In rare cases, yellowing can indicate overwatering or nutrient deficiency in the medium, but since microgreens are harvested so young, nutrient issues are uncommon. If you are using a nutrient-poor medium like coir, a very dilute liquid fertilizer (one-quarter strength) applied once can help, but it is rarely necessary.
Scaling Up Your Microgreen Production
Once you have mastered a single tray, scaling up is easy and highly rewarding. Many home growers maintain a rotation of three to six trays, staggered by a few days, to ensure a continuous supply of fresh greens every week. Start a new tray every three to four days, and you will never run out.
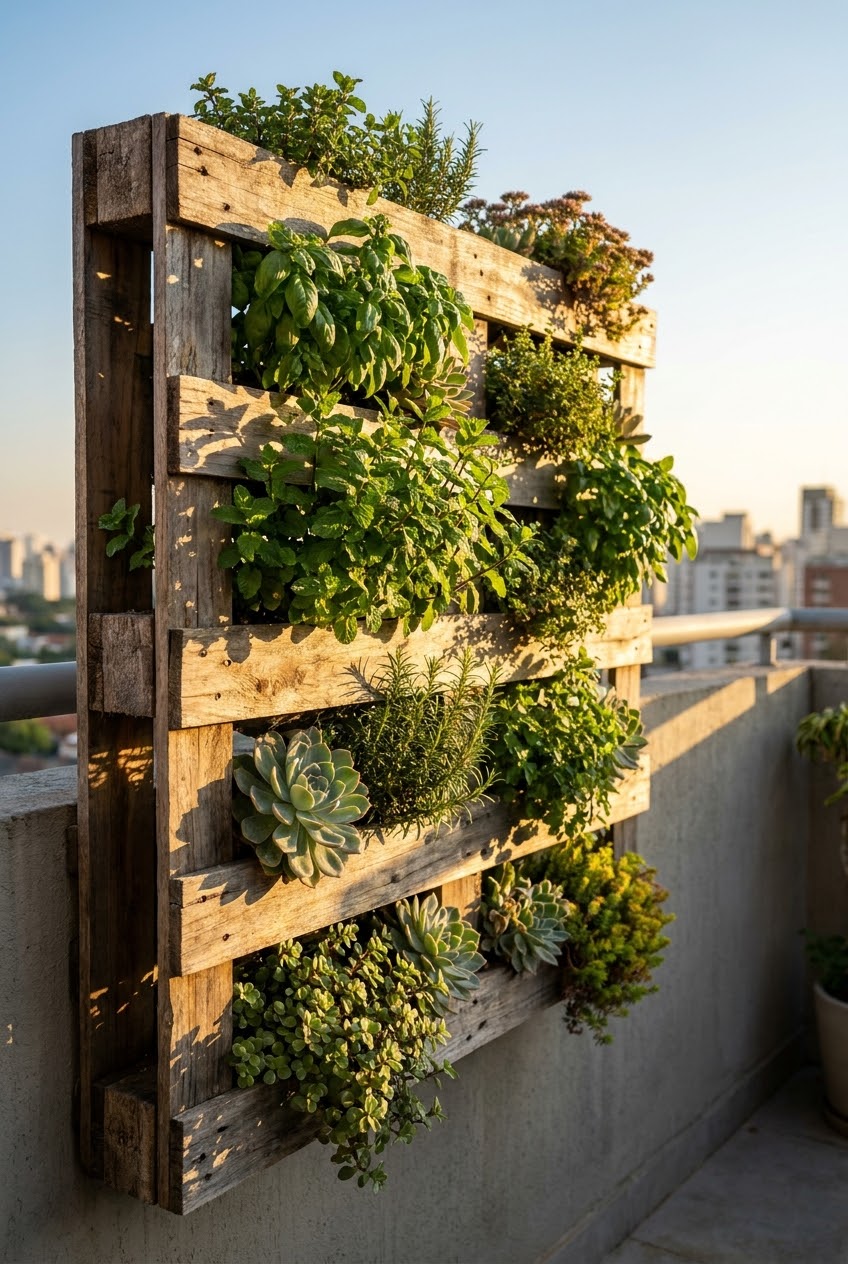
Stackable growing racks designed for microgreens allow you to grow ten or more trays in a single square foot of floor space. A basic wire shelving unit ($30 to $50) with a clip-on grow light for each shelf creates a highly productive vertical growing station. For ideas on maximizing vertical growing space, see our guide on vertical gardening ideas.
Some home growers turn their microgreen hobby into a small business. Fresh microgreens sell for $20 to $50 per pound at farmers' markets and to local restaurants. With a few shelving units and a modest seed supply, you can produce enough greens to cover your costs and then some. The startup cost is minimal, the growing cycle is short, and the demand for fresh, local microgreens is strong and growing.
Frequently Asked Questions
Do I need special seeds for microgreens?
While regular garden seeds can be used, seeds sold specifically for microgreen growing are preferred. They are untreated (no fungicides or pesticides), tested for high germination rates, and sold in bulk quantities suitable for dense sowing. If using garden seeds, check that they are not coated with any chemicals and purchase from reputable suppliers. Some garden seeds, especially large ones like beans and corn, are less suited for microgreen growing due to their size and germination requirements.
Can I reuse the growing medium?
No. After harvesting, the growing medium is depleted of easily available nutrients and is matted with root material. It may also harbor mold spores or pathogens. Spent medium should be composted and replaced with fresh material for each new planting. Growing medium is inexpensive, and the risk of disease from reusing it far outweighs the small savings.
Are microgreens safe to eat raw?
Yes. Unlike sprouts, which are grown in warm, wet conditions that can harbor bacteria, microgreens are grown in soil or a growing medium with good air circulation, which significantly reduces the risk of bacterial contamination. Wash microgreens gently before eating if you wish, though many growers simply harvest and eat them immediately. If you have a compromised immune system, lightly cooking microgreens eliminates any residual risk.
How much do microgreens cost to grow at home?
The cost is remarkably low. A bag of microgreen seeds (enough for ten to twenty trays) costs $5 to $15. A brick of coconut coir (enough for twenty or more trays) costs $5 to $10. The total cost per tray, including seeds, medium, and water, is roughly $1 to $3, producing four to eight ounces of greens that would cost $10 to $25 at a grocery store. The return on investment is extraordinary.
Can I grow microgreens without soil?
Yes. Coconut coir, hemp mats, jute mats, and even paper towels can serve as growing media for microgreens. These soil-free options reduce mess and are popular with indoor growers concerned about soil in the kitchen. However, soil-based or coir-based media generally produce slightly better yields and more robust growth because they retain moisture more evenly and provide trace minerals. Experiment to find which method you prefer.