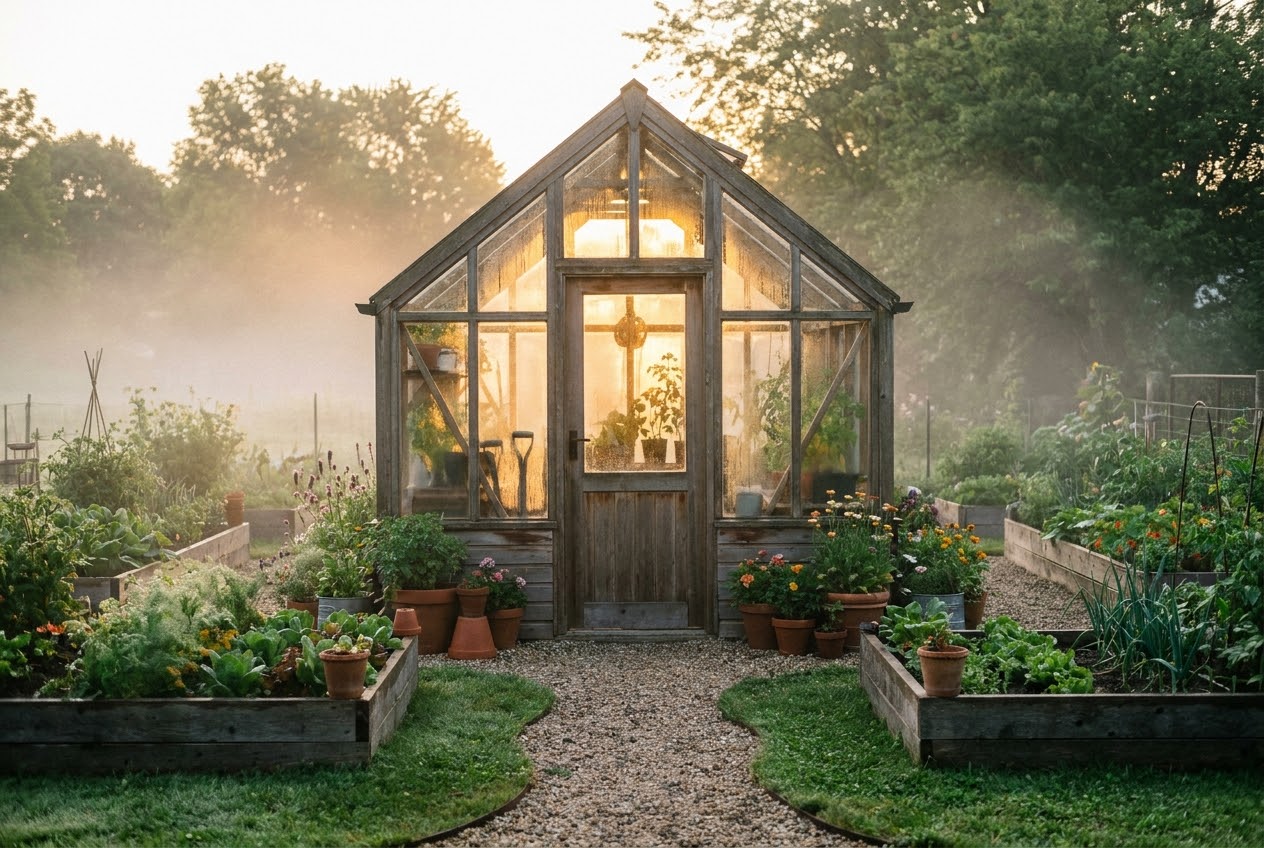
Why Build a Greenhouse
Imagine harvesting fresh tomatoes in November, starting seedlings in February while snow still blankets the ground, or growing tropical herbs that would never survive your local climate. A greenhouse makes all of this possible, and you do not need to spend thousands of dollars to get one. Building a DIY greenhouse is one of the most rewarding projects any gardener can tackle, and with the right approach, it can be done on a surprisingly modest budget.
A greenhouse extends your growing season by weeks or even months on both ends. In most temperate climates, this means you can start plants four to six weeks earlier in spring and continue harvesting well into fall or winter. For warm-season crops like tomatoes and peppers, those extra weeks translate directly into more food on your table. If you rely on starting plants from seed, a greenhouse gives you the controlled environment you need to grow strong, healthy transplants without cluttering your windowsills or investing in expensive grow light setups.
Beyond season extension, a greenhouse protects your plants from extreme weather events. Late frosts, hail, heavy rain, and strong winds can devastate an outdoor garden overnight. Inside a greenhouse, your plants sit safely sheltered from the elements, growing in a stable microclimate you control. This protection is especially valuable for tender plants that are borderline hardy in your zone.
There is also the therapeutic aspect. Stepping into a warm greenhouse on a cold winter morning, surrounded by green growing things, is a genuinely uplifting experience. Many greenhouse gardeners describe it as their favorite place on the property. The combination of warmth, humidity, and the scent of growing plants creates a refuge that benefits your mental health as much as your garden.
Types of Greenhouses
Before you start building, you need to decide which type of greenhouse best suits your space, budget, and goals. Each design has distinct advantages and trade-offs.
Lean-To Greenhouse
A lean-to greenhouse is built against an existing wall, typically the south-facing side of your house, garage, or shed. This design is the most space-efficient option because it uses an existing structure for one of its walls. The shared wall provides thermal mass, absorbing heat during the day and releasing it at night, which helps moderate temperature swings. Lean-to greenhouses are relatively easy to build and require fewer materials since one wall already exists. The main limitation is size: you are constrained by the dimensions of the supporting wall, and the shared wall may create shade on one side.
Freestanding Greenhouse
A freestanding greenhouse is a standalone structure that can be placed anywhere on your property. This gives you maximum flexibility in terms of size, orientation, and location. Freestanding greenhouses receive sunlight from all directions, which is ideal for plant growth. However, they require more materials to build, and since all walls are exposed to the elements, they lose heat faster than lean-to designs. A freestanding greenhouse is the best choice if you have the space and want a dedicated growing area.
Hoop House
A hoop house, also called a high tunnel, uses a series of curved hoops covered with plastic sheeting to create a tunnel-shaped structure. This is the most budget-friendly greenhouse design and the easiest to build. The curved shape sheds snow and rain effectively, and the simple construction means you can build one in a weekend with basic tools. Commercial farms use hoop houses extensively because they offer the best return on investment. For home gardeners, a small hoop house provides 90 percent of the benefits of a traditional greenhouse at a fraction of the cost.
Cold Frame
A cold frame is essentially a miniature greenhouse at ground level. It consists of a transparent lid (usually glass or rigid polycarbonate) mounted on a low box, hinged at the back so it can be propped open for ventilation. Cold frames are perfect for hardening off seedlings, extending the season for cold-tolerant greens, and overwintering herbs. They require minimal materials and can be built in an afternoon. While they do not provide the growing space of a full greenhouse, they are an excellent starting point for gardeners who want to experiment with season extension before committing to a larger structure.
Greenhouse Type Comparison
This table compares the four main greenhouse types to help you choose the right design for your situation.
| Type | Estimated Cost | Typical Size | Difficulty | Pros | Cons |
|---|---|---|---|---|---|
| Lean-To | $200–$800 | 6×8 to 8×12 ft | Moderate | Uses existing wall for support and heat retention; easy access to utilities | Limited by wall size; one side gets less light |
| Freestanding | $500–$2,000 | 8×10 to 12×20 ft | Moderate to Hard | Full sun exposure; flexible placement and sizing | Higher material cost; more heat loss; needs foundation |
| Hoop House | $100–$500 | 8×10 to 10×20 ft | Easy | Very affordable; quick to build; excellent snow shedding | Less durable; plastic needs replacing every 3–5 years |
| Cold Frame | $30–$150 | 3×4 to 4×8 ft | Very Easy | Cheapest option; can use reclaimed materials; portable | Very limited space; ground-level only; no standing room |
Planning Your Greenhouse
Good planning prevents costly mistakes. Before you buy a single piece of lumber or pipe, take time to work through these critical decisions.
Choosing the Right Size
Bigger is not always better, but too small is a common regret. A greenhouse that is too small heats up and cools down quickly, making temperature management difficult, and you will outgrow it within a season. A good starting size for a home gardener is 8 by 10 feet, which provides enough room for seed starting, a few growing beds, and walking space. If your budget and space allow, 10 by 12 feet or larger is even better. Remember that you will fill whatever space you build, so err on the larger side if possible.
Location and Orientation
Position your greenhouse where it will receive maximum sunlight. In the Northern Hemisphere, the ideal orientation is with the ridge line running east to west. This maximizes southern exposure during the shorter winter days when sunlight is most precious. Avoid placing the greenhouse where buildings, trees, or fences cast shadows, especially during winter when the sun is lower in the sky.
Good drainage is essential. Choose a site that does not collect standing water after rain. If your yard is flat or slopes toward the greenhouse location, you may need to install a French drain or raise the foundation slightly. Access to water and electricity is a bonus but not essential. You can always run a hose from an outdoor spigot, and solar-powered options exist for lighting and ventilation fans.
Check Local Regulations
Before building, check with your local building department about permits and setback requirements. Many areas exempt small structures under a certain size (often 120 or 200 square feet) from building permits, but regulations vary. If you live in a neighborhood with a homeowners association, review their rules as well. Taking five minutes to check these requirements upfront can save you headaches later.
Choosing Materials on a Budget
The frame and covering materials you choose will have the biggest impact on your greenhouse cost. Here is how to make smart, budget-friendly choices.
Frame Materials
PVC pipe is the most affordable option for hoop house frames. Schedule 40 PVC in one-inch or three-quarter-inch diameter bends easily into hoops and is readily available at any hardware store. A 10-foot section costs just a few dollars, and you will need roughly ten to fifteen pieces for a small greenhouse. The downside is that PVC degrades in UV light over time, but painting it with exterior latex paint extends its lifespan significantly.
Treated lumber is the standard choice for traditional greenhouse frames. Two-by-four and two-by-six boards form the base plates, studs, and rafters. Pressure-treated wood resists rot and insect damage, making it suitable for ground contact. For a budget build, look for cull lumber at your local lumber yard. These are pieces with minor defects that are sold at steep discounts and are perfectly adequate for greenhouse framing.
Reclaimed materials offer the best savings if you are willing to put in the legwork. Construction sites, demolition sales, and online marketplaces are goldmines for usable lumber, old windows, and hardware. Many homeowners give away old windows and doors when they upgrade their homes, and these can become the walls and roof of your greenhouse for the cost of picking them up. Building a greenhouse from reclaimed windows has become something of a movement, with beautiful examples appearing in communities dedicated to wood reuse and salvage building.
Covering Materials
Greenhouse-grade polyethylene film is the cheapest covering option. A six-mil greenhouse film rated for UV resistance costs significantly less than glass or polycarbonate and lasts three to four years before needing replacement. This is what commercial hoop houses use, and it provides excellent light transmission. Buy greenhouse-specific film rather than hardware store plastic sheeting, which degrades quickly and does not transmit light as well.
Polycarbonate panels are a step up in cost but offer much better durability and insulation. Twin-wall polycarbonate has two layers with air channels between them, providing insulation similar to double-pane glass. A four-by-eight-foot panel is lightweight, virtually unbreakable, and lasts ten to fifteen years. For a budget greenhouse, using polycarbonate on the ends and roof (where durability matters most) and poly film on the sides is a smart compromise.
Salvaged windows and glass doors create the most beautiful greenhouses. If you can source them cheaply or free, they provide excellent light transmission and a classic aesthetic. The main consideration is safety: use tempered or laminated glass if possible, and seal all edges to prevent cuts. Old windows also tend to be drafty, so plan for weatherstripping and caulking to seal gaps.
Step-by-Step: Building a Hoop House
The hoop house is the most accessible DIY greenhouse design. Here is how to build a 10-by-12-foot hoop house that will serve you well for years.
Materials Needed
Gather these materials before you begin: ten sections of 20-foot-long, three-quarter-inch Schedule 40 PVC pipe; six 2-by-6-inch pressure-treated boards, 12 feet long; two 2-by-6-inch pressure-treated boards, 10 feet long; one roll of six-mil greenhouse polyethylene film, 20 feet wide; PVC clamps or snap clamps; 36-inch rebar stakes, eight pieces; two 4-by-8-foot sheets of polycarbonate or plywood for end walls; one door frame and hinges; screws, brackets, and UV-resistant tape. The total cost for materials runs between 150 and 300 dollars depending on your source.
Step 1: Build the Base Frame
Construct a rectangular base frame using the 2-by-6 boards. Lay them on edge to form a 10-by-12-foot rectangle, securing the corners with galvanized brackets and screws. Level the frame on your prepared site, using a long level across the diagonal in both directions. If the ground is uneven, dig shallow trenches for the boards to sit in rather than trying to level the entire area. The base frame sits directly on the ground and anchors the entire structure.
Step 2: Install Rebar Stakes
Drive 36-inch rebar stakes into the ground along both long sides of the base frame, spacing them 24 inches apart. Drive them in until about 18 inches remains above ground. These stakes will hold the PVC hoops in place. For extra security, you can drill holes through the base boards and pass the rebar through them before driving into the ground.
Step 3: Bend and Attach the Hoops
Slip one end of a 20-foot PVC pipe over the rebar stake on one side of the frame. Walk around to the other side, bend the pipe into a hoop, and slip the other end over the corresponding rebar stake on the opposite side. The pipe should form a smooth, symmetrical arch. Repeat this process for all five hoops, spacing them evenly along the 12-foot length. Use PVC clamps to attach the hoops to the base boards for additional stability.
Step 4: Add Ridge and Support Poles
Run a length of PVC pipe along the top of the hoops at the peak to serve as a ridge pole. Secure it to each hoop with PVC clamps or zip ties. This ridge pole prevents the hoops from shifting and provides support for the plastic covering. For additional rigidity, you can add horizontal poles along the sides at about waist height, connecting all the hoops together.
Step 5: Cover with Polyethylene Film
Unroll the greenhouse film over the frame on a calm day. Center it so you have equal overhang on both ends and sides. Pull the film taut but not overly tight, as it needs a little give to accommodate temperature changes. Secure the long edges to the base boards using lathing strips or wiggle wire channels. Fold and staple the ends neatly, leaving enough material to seal around the end wall panels. Use UV-resistant tape to patch any tears or holes.
Step 6: Build and Install End Walls
Cut polycarbonate or plywood panels to fit the curved end openings. Frame them with simple lumber to create a sturdy face. Install a pre-hung door or build a simple frame-and-panel door on one end. The other end can have a fixed panel with a hinged vent window for ventilation. Seal all edges where the panels meet the poly film with weatherstripping tape to prevent drafts.
Ventilation and Heating
A greenhouse without proper ventilation will overheat on any sunny day, even in winter. Temperature management is the single most important aspect of greenhouse growing.
Passive Ventilation
The simplest ventilation approach uses convection. Install adjustable vents near the roof peak (hot air rises and exits through these) and low vents near the base (cooler air enters here). This creates a natural airflow cycle that keeps temperatures manageable without electricity. Automatic vent openers, which use a wax cylinder that expands when warm to push the vent open, cost around twenty to thirty dollars and eliminate the need to manually adjust vents throughout the day.
Active Ventilation
For larger greenhouses or hot climates, exhaust fans provide more reliable temperature control. A small solar-powered fan mounted in a gable vent can move enough air to keep a small greenhouse cool. Thermostat-controlled fans that turn on automatically when temperatures exceed a set point are the gold standard. Pair intake shutters on the opposite end with an exhaust fan for the most effective cross-ventilation.
Heating Options
In most climates, an unheated greenhouse provides enough frost protection for cool-season crops and seed starting. If you want to grow warm-season crops through winter or maintain minimum temperatures above freezing, you will need supplemental heating. Electric space heaters with thermostats are the easiest option but can be expensive to run. Propane or natural gas heaters designed for greenhouses are more efficient for larger spaces. For a low-tech approach, thermal mass barrels filled with water absorb heat during the day and release it at night, buffering temperature swings. Painting the barrels black maximizes heat absorption.
A well-insulated greenhouse with thermal mass and a small backup heater can maintain above-freezing temperatures in most of the continental United States. Adding a layer of bubble wrap insulation to the inside walls during winter dramatically improves heat retention without significantly reducing light transmission. For more tips on protecting plants during cold weather, see our guide on winter garden preparation.
Shelving and Interior Setup
A well-organized interior maximizes your growing space and makes greenhouse work enjoyable.
Shelving
Install tiered shelving along both long walls, using the space from ground level up to about five feet high. Wire shelving units are ideal because they allow light and air to pass through, preventing the shelves from shading plants below. Avoid solid wood shelves for the same reason. Place your most light-hungry plants on the top shelves near the glazing and shade-tolerant plants or supplies below.
Potting Bench
A sturdy potting bench at waist height near the door gives you a dedicated workspace for transplanting, seed starting, and other tasks. Include storage underneath for pots, trays, soil, and tools. A potting bench transforms your greenhouse from a simple plant shelter into a functional growing station where you actually enjoy spending time.
Seed Starting Area
Dedicate a section of shelving to seed starting. Set up heat mats under seed trays to maintain consistent soil temperatures for germination. A simple timer-controlled grow light mounted under a shelf provides supplemental light for seedlings on cloudy days. Label everything carefully and keep a planting journal to track what you started and when.
Water Access
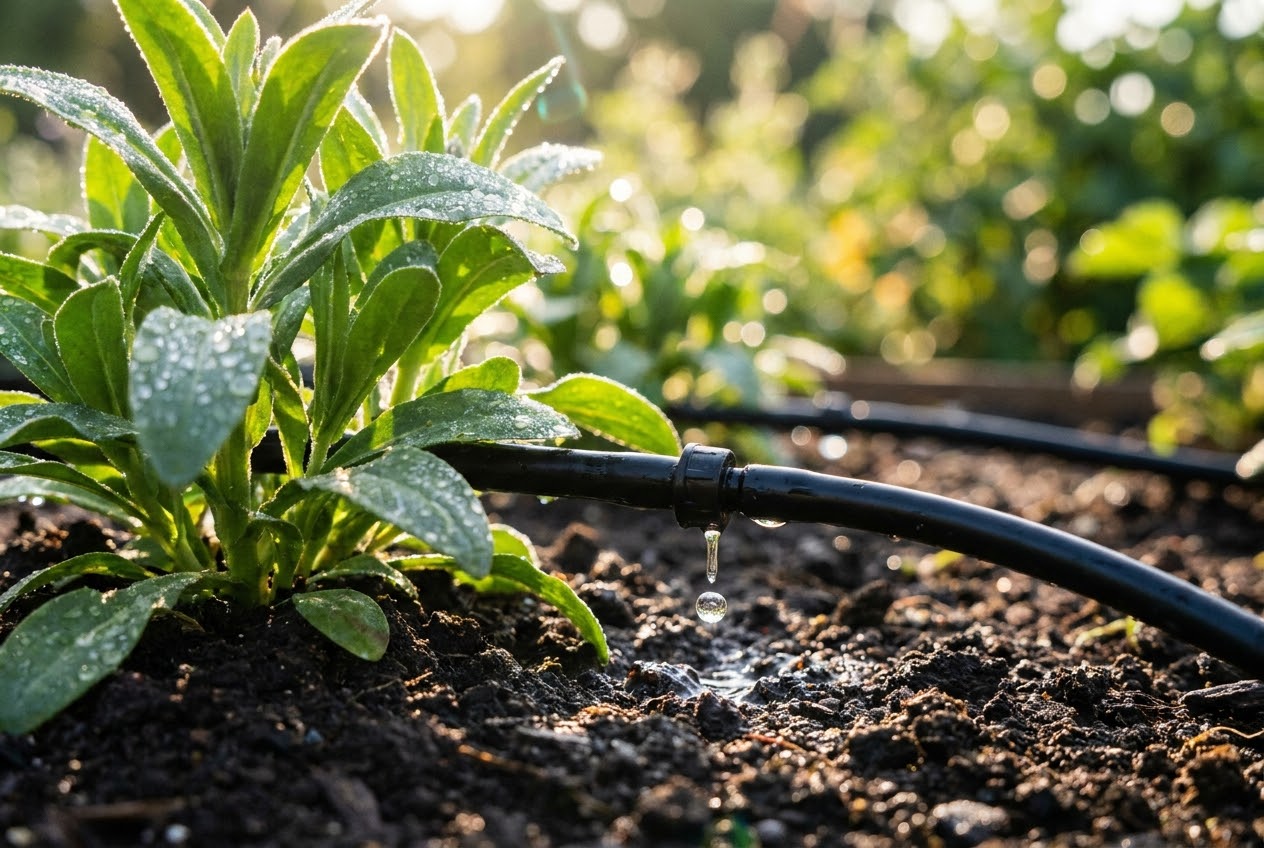
If you cannot run a permanent water line to your greenhouse, keep several large watering cans filled inside the greenhouse. The water will warm to greenhouse temperature, which is better for plants than cold tap water. A rain barrel connected to the greenhouse roof gutters provides a convenient, free water source during the growing season. Consider drip irrigation on a timer for larger setups, which saves time and delivers water exactly where plants need it. Our guide on watering your garden efficiently covers irrigation methods in detail.
What to Grow in Your Greenhouse
Once your greenhouse is up and running, the possibilities are exciting. Here are the best uses for your new growing space.
Seed Starting
Starting seeds in a greenhouse produces stronger transplants than windowsill growing. The light is more even, temperatures are more consistent, and you have room for hundreds of seedlings. Start tomatoes, peppers, and eggplants six to eight weeks before your last frost date. Cool-season crops like lettuce, broccoli, and cabbage can be started even earlier. With a greenhouse, you control the timing and are never at the mercy of garden center availability.
Cold-Tolerant Greens
Lettuce, spinach, kale, arugula, and other salad greens thrive in greenhouse conditions during cool weather. Sow them directly into greenhouse beds or containers in late winter for an early spring harvest, and again in fall for winter production. With a greenhouse, you can harvest fresh salads year-round in most climates, even without supplemental heating.
Warm-Season Crops
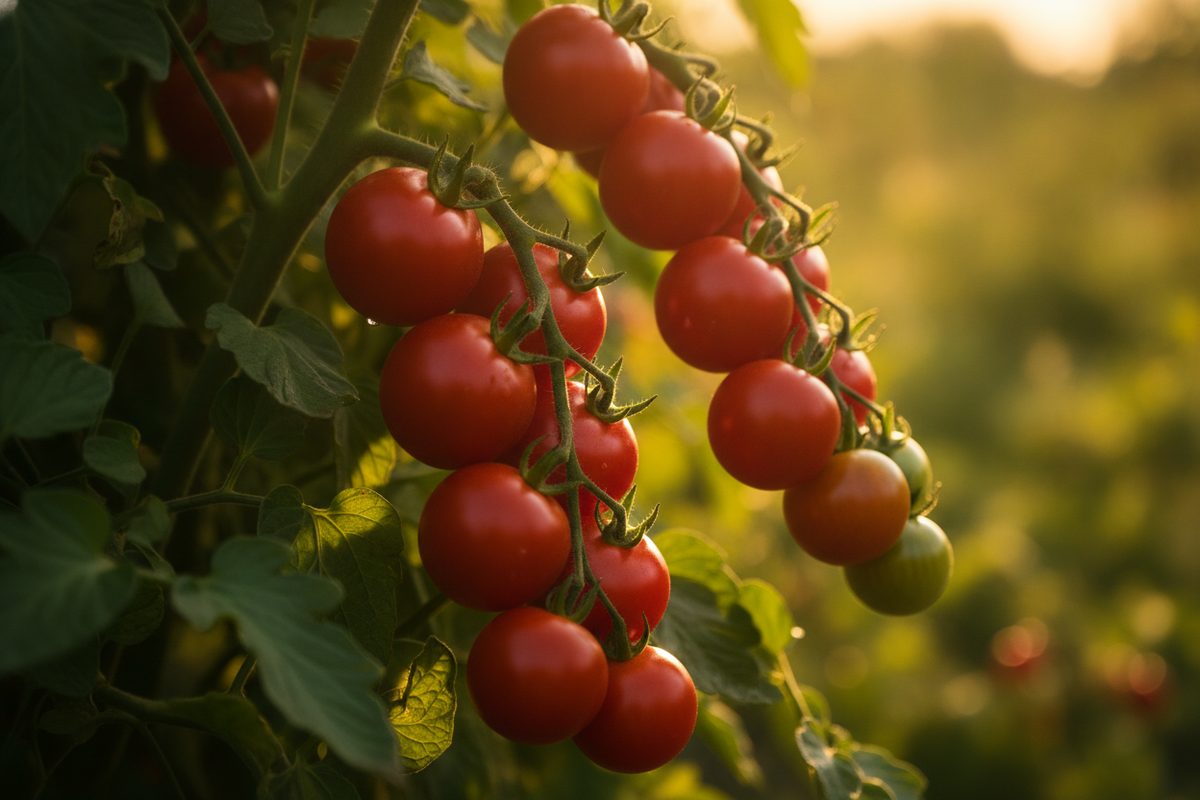
In heated or semi-heated greenhouses, warm-season crops like tomatoes, cucumbers, peppers, and even melons can be grown through winter. Start them in late summer inside the greenhouse and they will continue producing as outdoor temperatures drop. Greenhouse-grown tomatoes are a particular treat, ripening slowly in cool conditions for concentrated flavor.
Herbs
Perennial herbs like rosemary, thyme, oregano, and bay laurel overwinter beautifully in a greenhouse. In cold climates, these Mediterranean herbs would die outdoors but can live for years inside a greenhouse. Basil grows prolifically in greenhouse heat and can be harvested continuously. For more ideas on growing herbs indoors and out, check our guide to the best herbs to grow indoors year-round.
Tropical and Exotic Plants
A greenhouse opens the door to growing plants that would never survive your outdoor climate. Citrus trees in pots, figs, ginger, turmeric, vanilla, and even small banana plants can be grown in a greenhouse in temperate climates. These plants make excellent conversation starters and provide unique harvests you cannot buy at the grocery store.
Greenhouse Maintenance
A greenhouse requires regular maintenance to function at its best. Fortunately, the tasks are simple and do not take much time.
Cleaning
Clean the glazing at least once a year, preferably in early spring before the growing season kicks into high gear. Dirt, algae, and mineral deposits reduce light transmission by ten to twenty percent, which significantly affects plant growth. Wash polycarbonate and glass panels with a mild soap solution and soft cloth. For poly film, a gentle wipe-down is sufficient. Avoid abrasive cleaners or pressure washers, which can scratch surfaces or damage UV coatings.
Inspecting and Repairing
Check for tears in poly film, loose fasteners, and damaged seals at least twice a year. Small tears can be repaired with UV-resistant greenhouse tape. Replace poly film every three to four years or when it becomes cloudy and brittle. Inspect the frame for rust, rot, or loose connections, and address issues promptly before they become structural problems.
Pest Management
The warm, enclosed environment of a greenhouse can be a haven for pests like aphids, whiteflies, and fungus gnats. Use the same natural pest control methods you would use outdoors. Yellow sticky traps catch flying pests and serve as an early warning system. Introduce beneficial insects like ladybugs and parasitic wasps for biological control. Keep the greenhouse clean and remove dead plant material promptly to discourage pest buildup.
End-of-Season Care
At the end of the growing season, remove all spent plants and debris. Wash and sanitize pots, trays, and benches. If you use your greenhouse year-round, this is a good time to reorganize, repair any winter damage, and prepare for spring seed starting. Drain any irrigation lines to prevent freezing damage. If you are not using the greenhouse in winter, open the doors on mild days to allow air circulation and prevent mold growth.
Frequently Asked Questions
How much does it really cost to build a DIY greenhouse?
It depends entirely on the design and materials you choose. A basic hoop house using PVC and greenhouse poly film can be built for $150 to $300. A lean-to greenhouse using new lumber and polycarbonate panels might run $400 to $800. If you can source reclaimed windows and lumber, you can build a beautiful greenhouse for even less. The most expensive option is a traditional freestanding greenhouse with a proper foundation, which can cost $1,000 to $2,000 for a modest size. For most home gardeners, a hoop house in the $200 range is the sweet spot of cost and function.
Do I need a foundation for my greenhouse?
For a hoop house, a simple wood base frame sitting on the ground is sufficient. For larger or permanent greenhouses, a foundation improves stability and longevity. Options range from pressure-treated skids (wooden beams laid on gravel) for semi-permanent structures to concrete block or poured concrete footings for permanent buildings. A gravel floor inside the greenhouse provides excellent drainage and is easy to maintain. Avoid pouring a full concrete slab unless you plan to install benches, as it retains cold and makes in-ground planting difficult.
How do I keep my greenhouse from overheating in summer?
Ventilation is critical. At minimum, install roof vents and low side vents to create passive airflow. In hot climates, shade cloth draped over the greenhouse reduces temperatures by ten to fifteen degrees. Whitewashing the exterior glazing with diluted white latex paint is a traditional technique that reduces light intensity in summer and washes off in fall. Automated vent openers and exhaust fans provide reliable temperature control. Many gardeners remove the poly film from hoop houses entirely in summer and replace it in fall, effectively turning the structure into a shade house.
Can I build a greenhouse against my house?
Yes, a lean-to greenhouse attached to your house is a popular and practical design. The shared wall provides thermal mass, and you have easy access to electricity and water. However, there are some considerations. The greenhouse will create a humid environment next to your house, so ensure proper moisture barriers are in place. Attach the greenhouse frame to the house structure, not just the siding, to prevent water intrusion. Orient it on the south or southeast side for maximum sunlight. Also, be aware that the greenhouse will shade the area behind it, which may affect rooms or plantings on that side of the house.
What is the best greenhouse covering for cold climates?
Twin-wall polycarbonate is the best covering for cold climates. Its air channels provide insulation that single-layer materials cannot match. A 16-millimeter twin-wall panel has an R-value of about 1.7, compared to about 0.83 for single-layer poly film. For extreme cold, consider double-layer inflated poly film, which creates an air pillow between two layers of plastic for similar insulation at a lower cost. Adding a layer of bubble wrap insulation to the inside of any greenhouse covering during winter further improves heat retention without significantly reducing light. Combined with thermal mass and a backup heater, good insulation keeps your greenhouse productive even in the coldest climates. See our article on raised bed gardening for ideas on building insulated growing beds inside your greenhouse.