Introduction
Composting is supposed to be simple. You pile up organic materials, nature breaks them down, and a few months later you have rich, dark humus for your garden. In practice, things do not always go according to plan. Piles develop unpleasant odors, refuse to heat up, attract unwelcome visitors, or turn into soggy, slimy messes. If you have encountered any of these composting problems, you are far from alone. Every composter, from beginners to seasoned veterans, runs into issues at some point.
The good news is that nearly every composting problem has a straightforward fix. Composting is a biological process driven by billions of microorganisms, and those microorganisms have very specific needs. When you understand what those needs are and how to meet them, troubleshooting becomes almost intuitive. This guide covers the twelve most common composting problems and their solutions, organized by symptom so you can quickly diagnose what is wrong and get your pile back on track.
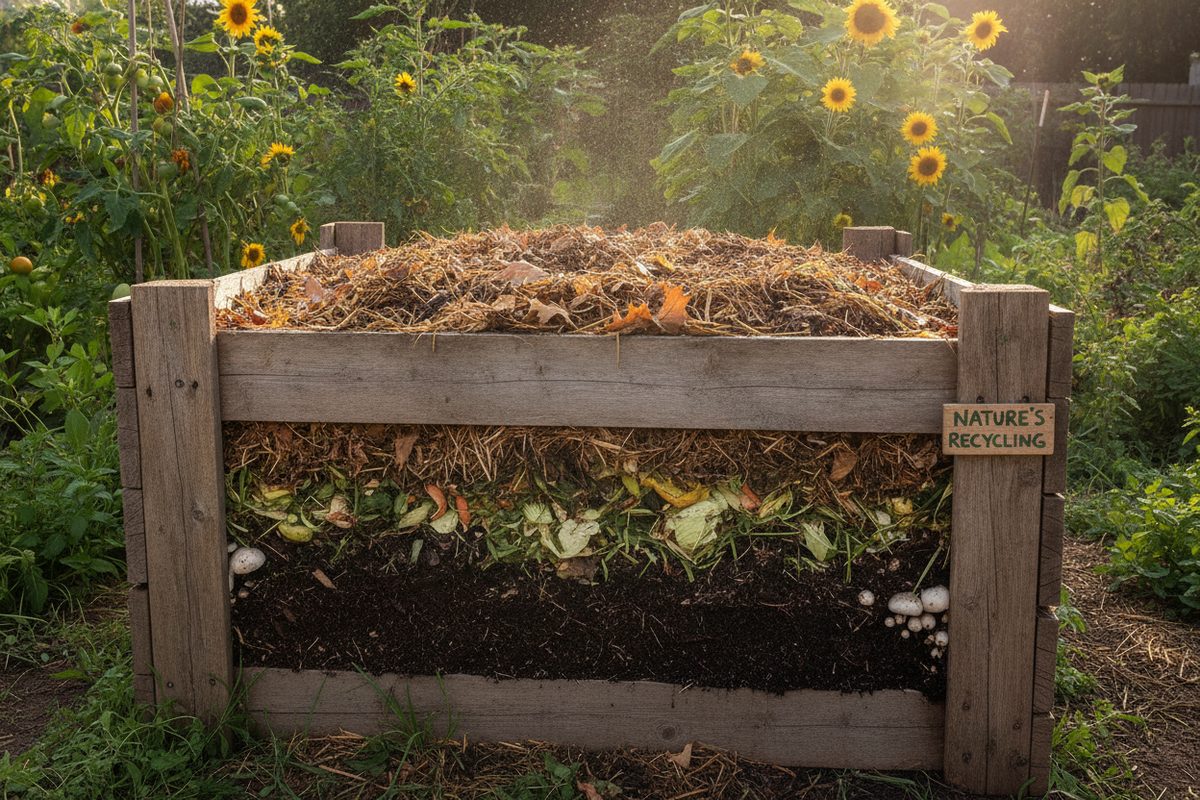
Before we dive in, keep in mind that a healthy compost pile is a living ecosystem. It requires a balance of four things: carbon (brown materials), nitrogen (green materials), moisture, and oxygen. When any one of these elements is out of balance, problems arise. The fix almost always involves restoring that balance. For a comprehensive overview of the composting process itself, see our composting at home guide.
How to Diagnose Compost Issues
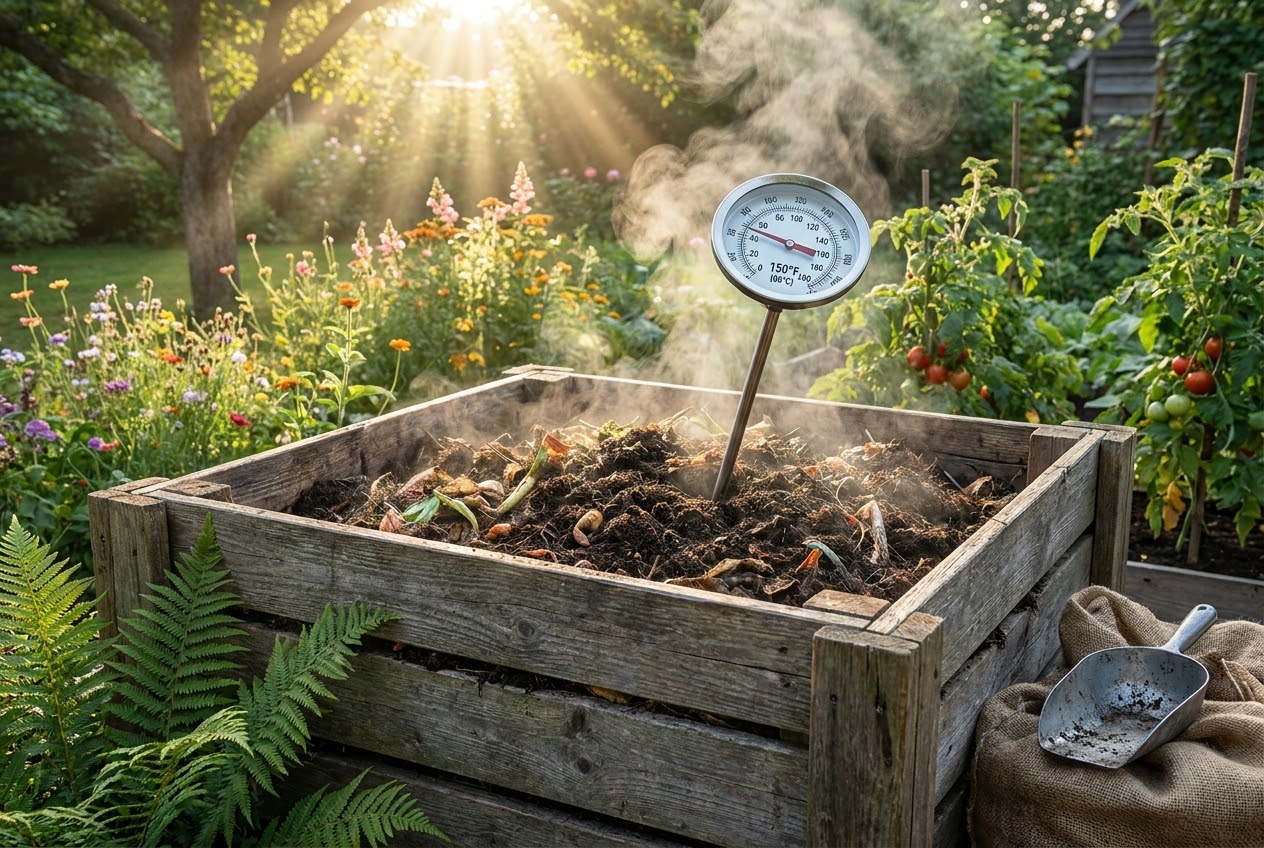
Your senses are your best diagnostic tools. A healthy compost pile should smell earthy and pleasant, like a forest floor after rain. It should be warm in the center (130 to 160 degrees Fahrenheit for hot composting), moist but not soggy (like a wrung-out sponge), and visibly shrinking as materials break down. When something is off, the pile will tell you through its smell, appearance, temperature, or texture.
A compost thermometer is an inexpensive and valuable tool that removes guesswork from temperature diagnosis. A long-probe thermometer costs $10 to $25 and lets you check the internal temperature of the pile without disturbing it. If you do not have a thermometer, simply plunge your hand into the center of the pile. It should feel noticeably warm or even hot. If the center is cool or cold, the decomposition process has stalled.
Problem 1: The Pile Smells Bad (Rotten or Sewage Odor)
A foul, rotten smell is the most common composting complaint and usually indicates anaerobic conditions, meaning the pile lacks sufficient oxygen. When oxygen is scarce, anaerobic bacteria take over and produce hydrogen sulfide (rotten egg smell) and other foul-smelling compounds.
Cause
The pile is too wet, too compacted, or has too many nitrogen-rich green materials without enough carbon-rich browns to create air pockets. Food scraps buried in dense, wet layers are the most common culprit.
Solution
Turn the pile thoroughly with a pitchfork or compost aerator to reintroduce oxygen. Mix in generous amounts of brown materials such as dry leaves, shredded cardboard, straw, or sawdust to absorb excess moisture and improve structure. If the pile is soaking wet, leave it uncovered in dry weather for a day or two to allow moisture to evaporate. Going forward, always cover food scraps with a layer of browns. This simple habit prevents most odor problems. For a deeper understanding of the carbon-nitrogen balance, review our soil and composting fundamentals.
Problem 2: The Pile Is Too Wet
A waterlogged compost pile becomes heavy, dense, and anaerobic. It stops heating, develops odors, and decomposes extremely slowly. Excess moisture is the root cause of many other composting problems.
Cause
Heavy rainfall without a cover, adding too many wet green materials (fruit scraps, grass clippings) without balancing browns, or poor drainage beneath the pile.
Solution
Turn the pile to expose wet material to air and evaporation. Mix in large quantities of dry, absorbent browns: shredded newspaper, dry leaves, straw, or sawdust. These materials soak up excess moisture and restore the carbon-nitrogen balance. If your area gets heavy rain, cover the pile with a tarp, a piece of plywood, or a purpose-built compost bin lid. Ensure the base of the pile has good drainage. If the pile sits in a low spot where water pools, consider relocating it or building a raised platform of pallets or branches to improve airflow from below.
Problem 3: The Pile Is Too Dry
Composting microorganisms need moisture to live and work. A pile that is too dry will stop decomposing, feel dusty or crumbly, and may develop a dry, crusty exterior.
Cause
Extended dry weather, excessive dry brown materials, or exposure to direct sun and wind without a cover.
Solution
Water the pile evenly with a garden hose or watering can while turning it. You want the materials to feel like a wrung-out sponge: damp throughout but not dripping. Add wet green materials like fresh grass clippings, kitchen scraps, or coffee grounds to boost internal moisture. Cover the pile with a tarp or layer of straw to slow evaporation. In arid climates, shading the pile from direct afternoon sun helps maintain moisture levels. If you are using a rainwater harvesting system, compost watering is a perfect use for stored rainwater.
Problem 4: The Pile Is Not Heating Up
A cold compost pile that never reaches the 130 to 160 degree Fahrenheit range is decomposing slowly, if at all. Hot composting breaks down materials in weeks rather than months and kills weed seeds and pathogens, so getting the temperature up is worth the effort.
Cause
The pile is too small (less than three feet in each dimension), has an imbalanced carbon-to-nitrogen ratio, is too dry, or lacks oxygen. In winter, cold ambient temperatures can also slow heating.
Solution
First, check the size. A compost pile needs critical mass to generate and retain heat. Aim for at least three feet by three feet by three feet. If your pile is smaller, add more material until it reaches this minimum size. Next, check the carbon-to-nitrogen ratio. A pile heavy in browns (carbon) but light in greens (nitrogen) will not heat up. Add nitrogen-rich materials like fresh grass clippings, vegetable scraps, coffee grounds, or a small amount of aged manure. Conversely, if the pile is mostly greens, add more browns. Finally, check moisture. The pile should be damp like a wrung-out sponge. Too dry or too wet, and the microbes cannot do their work.
Problem 5: The Pile Is Attracting Pests
Unwanted visitors ranging from fruit flies to raccoons can make composting frustrating, especially in urban and suburban settings.
Cause
Exposed food scraps, meat or dairy in an open pile, or a bin without adequate animal-proof barriers.
Solution
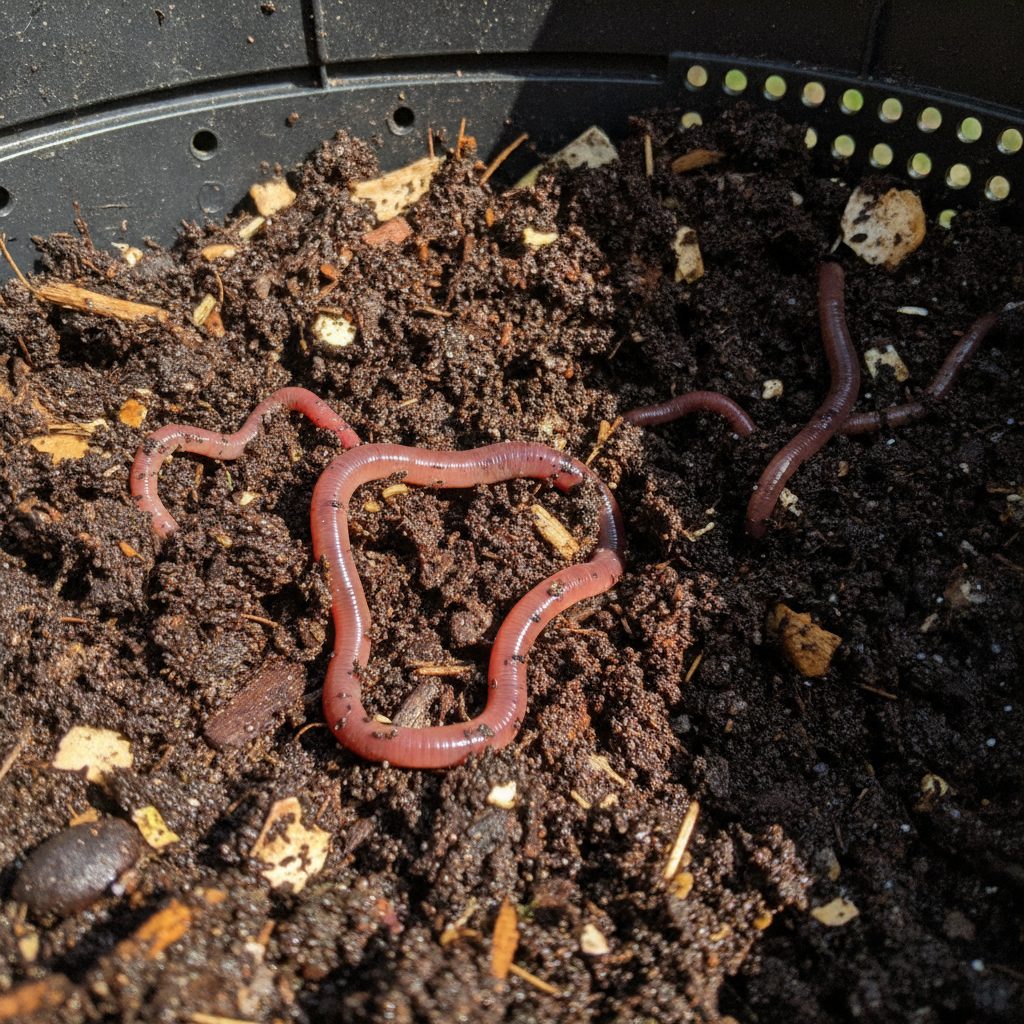
Always bury food scraps in the center of the pile and cover them with a layer of browns. Never compost meat, bones, dairy, or oily foods in an open pile; these attract rodents and larger animals. If pests are already a problem, switch to an enclosed bin with a secure lid and small ventilation holes. Tumbler composters are particularly effective at keeping pests out because they are fully sealed and elevated off the ground. For fruit flies, the issue is usually exposed fruit scraps on the surface. Bury them deeper and add a thick layer of browns on top. If you want to learn about a composting method that minimizes pest attraction, check our guide on worm composting.
Problem 6: Slow Decomposition
When your compost pile seems to sit unchanged for weeks or months, something is preventing the microorganisms from doing their work efficiently.
Cause
Materials are too large, the carbon-to-nitrogen ratio is off, the pile is too dry or too wet, or the pile has not been turned. Large chunks of branches, thick stems, and whole leaves decompose much more slowly than smaller pieces.
Solution
Chop, shred, or tear materials into smaller pieces before adding them. Smaller pieces have more surface area for microbes to work on, which dramatically speeds decomposition. Run over leaves with a lawn mower, cut garden waste into six-inch sections, and crush eggshells. Turn the pile to redistribute materials and introduce oxygen. Ensure the moisture level is correct and that you have a good mix of greens and browns. If the pile is heavy in woody materials, add nitrogen-rich greens to compensate.
Problem 7: Slimy Texture
When compost feels slimy or matted, it is usually a sign that nitrogen-rich materials have compacted and become anaerobic.
Cause
Large quantities of grass clippings, green weeds, or wet food scraps added in thick layers without mixing or interspersing with browns.
Solution
Break up the slimy layers and mix them thoroughly with coarse brown materials like straw, shredded cardboard, or wood chips. These browns absorb excess moisture, create air pockets, and restore aerobic conditions. In the future, never add grass clippings in a layer thicker than two inches. Mix them with browns immediately or let them dry out on the lawn for a day before adding them to the pile. If you have a large lawn and generate more clippings than your compost can handle, consider leaving them on the lawn as a natural fertilizer, as described in our mulching guide.
Problem 8: White Fuzzy Mold on the Surface
Seeing white, fuzzy growth on your compost can be alarming, but it is almost always harmless and often beneficial.
Cause
Actinomycetes and beneficial fungi that break down tough materials like wood, paper, and cardboard. This is a normal part of the composting process, especially in cooler weather when fungal decomposition is more active than bacterial decomposition.
Solution
No solution is needed. White mold is a sign that decomposition is happening. Simply turn the pile to mix the fungal growth back into the interior where it can continue working. If the mold is accompanied by a sour smell or the pile feels cold and damp, combine the turning with adding dry browns to improve airflow and moisture balance. If you are composting indoors with worms, a small amount of white mold in the bin is perfectly normal and harmless to the worms.
Problem 9: The Pile Smells Like Ammonia
A sharp, pungent ammonia smell is different from the rotten smell of anaerobic conditions. Ammonia indicates excess nitrogen that is off-gassing rather than being incorporated into the compost.
Cause
Too much nitrogen relative to carbon. This often happens when large amounts of fresh grass clippings, manure, or food scraps are added without enough carbon-rich browns to balance them.
Solution
Add carbon-rich browns immediately. Shredded cardboard, dry leaves, straw, or sawdust will absorb the excess nitrogen and stop the ammonia production. Turn the pile to mix the browns in thoroughly. Going forward, maintain a ratio of roughly three parts browns to one part greens by volume. This approximate ratio provides the ideal carbon-to-nitrogen balance for efficient decomposition without ammonia loss.
Problem 10: Fruit Flies and Gnats
Small flies hovering around your compost bin are a nuisance, especially for indoor or kitchen-counter composters.
Cause
Exposed fruit and vegetable scraps, especially sweet materials like melon rinds, banana peels, and apple cores. Fruit flies are attracted to the sugars and fermentation byproducts.
Solution
Bury food scraps deep in the center of the pile and cover them with a thick layer of browns. In indoor composters or worm bins, maintain a bedding layer of shredded newspaper on top of the food scraps. A thin layer of dry leaves or cardboard on top of the compost acts as a barrier that discourages flies. If the infestation is severe, reduce the amount of fruit scraps you add for a week or two. For outdoor bins, ensure all openings are screened with fine mesh that prevents adult flies from entering.
Problem 11: Rodents (Mice and Rats)
Rodents visiting your compost bin are looking for food and shelter. They are more common in urban areas and during cold weather when natural food sources are scarce.
Cause
Open compost bins with access to food scraps, especially grains, bread, and cooked foods. Gaps in bin construction that allow rodents to enter.
Solution
Switch to a fully enclosed compost bin or tumbler with no gaps larger than a quarter inch. Line the bottom of open bins with hardware cloth (a sturdy wire mesh) to prevent burrowing underneath. Stop adding bread, pasta, rice, and cooked foods, which are the most attractive to rodents. Bury all food scraps in the center of a hot, active pile where temperatures are too high for rodents to nest. If you have persistent rodent problems, consider vermicomposting indoors where pests cannot access the bin.
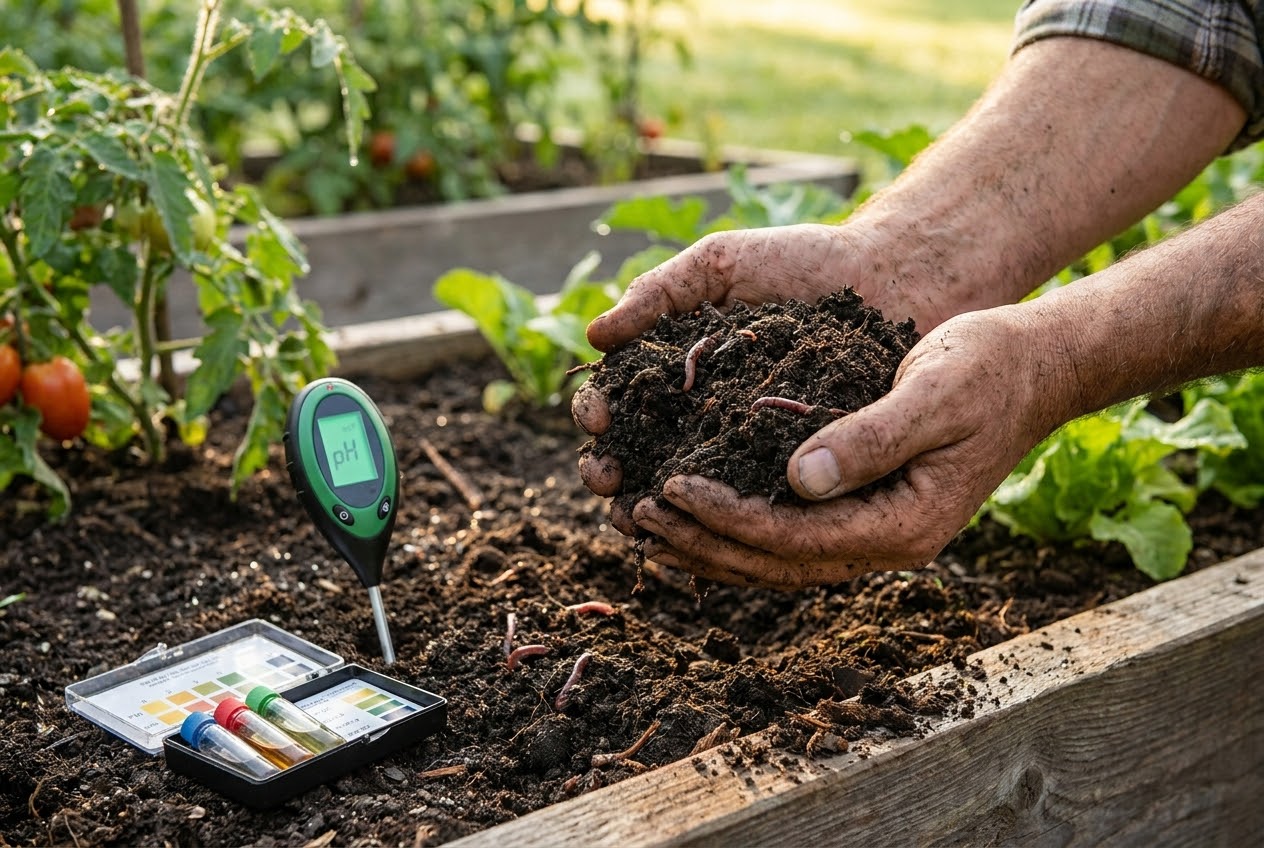
Problem 12: The Pile Is Too Acidic
An overly acidic compost pile can slow decomposition and produce compost that is too acidic for many garden plants. Signs include a sour smell, slowed activity, and in severe cases, a white, powdery residue.
Cause
Large quantities of acidic materials such as citrus peels, pine needles, coffee grounds, or oak leaves without enough balancing materials. Anaerobic conditions can also produce organic acids that lower the pH.
Solution
Add a small amount of garden lime (calcium carbonate) or wood ash to neutralize the acidity. One to two cups of lime per cubic yard of compost is usually sufficient. Do not overdo it, as excessively alkaline compost has its own problems. Turn the pile to restore aerobic conditions, which prevents the accumulation of organic acids. Balance acidic inputs with neutral or alkaline materials. In the future, limit citrus peels and pine needles to moderate amounts, and always mix them with a variety of other materials.
| Problem | Likely Cause | Solution |
|---|---|---|
| Rotten/sewage smell | Anaerobic conditions, too wet | Turn pile, add browns, improve drainage |
| Pile too wet | Rain exposure, too many greens | Add dry browns, cover with tarp, turn |
| Pile too dry | Drought, sun/wind exposure | Water evenly, add greens, cover with mulch |
| Not heating up | Too small, C:N imbalance, too dry | Enlarge pile, add greens, moisten |
| Attracting pests | Exposed food, meat/dairy | Bury scraps, use enclosed bin, remove attractants |
| Slow decomposition | Large pieces, wrong ratio | Shred materials, turn, balance greens/browns |
| Slimy texture | Compacted greens, no airflow | Break up, mix with coarse browns, turn |
| White mold | Beneficial fungi (normal) | No fix needed, turn to mix back in |
| Ammonia smell | Excess nitrogen | Add carbon-rich browns, turn |
| Fruit flies | Exposed sweet scraps | Bury deep, cover with browns, reduce fruit |
| Rodents | Open bin, grains/food access | Enclosed bin, hardware cloth, stop grains |
| Too acidic | Citrus, pine needles, anaerobic | Add lime or wood ash, turn pile |
Prevention Strategies: Keeping Problems at Bay
The best composting troubleshooting is preventing problems from occurring in the first place. These habits will keep your pile healthy and productive.
Always Layer Browns Over Greens
This single habit prevents most composting problems. Every time you add food scraps or other green materials, cover them with a two- to three-inch layer of browns. This absorbs moisture, prevents odors, discourages pests, and maintains the carbon-nitrogen balance. Keep a pile of dry leaves, a bale of straw, or a bag of shredded cardboard next to your compost bin for easy access.
Turn Regularly
Turning the pile every one to two weeks introduces oxygen, redistributes materials, and prevents compaction. If you cannot turn the entire pile, at least poke deep holes in it with a compost aerator or broomstick to create air channels. This simple act can prevent most anaerobic conditions.
Monitor Moisture
Check the moisture level every time you turn the pile. Grab a handful of material from the center and squeeze it. A few drops of water should emerge, but it should not drip freely. If it is too dry, add water. If it is too wet, add browns and turn. This takes thirty seconds and prevents weeks of troubleshooting later.
Maintain Minimum Size
A compost pile smaller than three feet cubed will struggle to heat up and decompose efficiently. If your household does not generate enough material to fill a bin this size, consider partnering with neighbors to create a shared community compost, or supplement your kitchen scraps with yard waste, coffee grounds from a local cafe, or cardboard from your recycling bin.
Know What Not to Compost
Certain materials cause persistent problems and are best avoided in home compost systems: meat, bones, dairy products, cooking oils, pet waste, diseased plants, and weeds that have gone to seed (unless your pile consistently reaches 140 degrees Fahrenheit or higher). Keeping these materials out of your pile eliminates many potential problems before they start. If you are building your first compost setup, our garden setup guide covers integrating composting into your overall garden plan.
When to Start Over
Most composting problems can be fixed with the solutions described above. However, in rare cases, a pile may be beyond saving. If your pile has been anaerobic and waterlogged for months, smells overwhelmingly foul even after turning, is heavily contaminated with non-compostable materials, or has been treated with herbicides or pesticides, it may be easier to start fresh.
To salvage what you can, spread the questionable material thinly over a lawn or garden bed and let it air out for a week or two. Then start a new pile with a proper base of browns, balanced layering, and good drainage. The experience you gained from troubleshooting the old pile will make the new one far more successful.
Seasonal Composting Challenges
Different seasons present different composting challenges. Understanding these patterns helps you stay ahead of problems.
Spring
As temperatures warm, dormant piles reactivate. Turn the pile in early spring to redistribute materials and kickstart microbial activity. Add fresh greens as garden waste becomes available. Watch for excess moisture from snowmelt and spring rains.
Summer
High temperatures accelerate decomposition but also increase drying. Check moisture more frequently during hot, dry spells and water as needed. Fruit fly activity peaks in summer, so be diligent about burying food scraps. Harvest finished compost from the bottom of the pile to make room for summer garden waste.
Fall
Fall is the best time to stockpile carbon-rich browns. Collect fallen leaves and store them in bags or wire bins next to your compost area. These dry leaves become your browns supply for the entire year. Continue adding kitchen scraps through fall, balancing with the abundant leaf supply.
Winter
Cold temperatures slow decomposition significantly. Piles may freeze solid in northern climates. Continue adding materials through winter, knowing they will decompose when temperatures rise in spring. Insulate the pile with a thick layer of straw or leaves around the outside to help retain heat. A well-insulated pile can remain active even in moderately cold weather. For more seasonal garden planning, see our seasonal planting guide.
Frequently Asked Questions
How often should I turn my compost pile?
For hot composting, turn the pile every three to five days for the fastest results, or every one to two weeks for a more relaxed approach. If you are using a cold composting method (just piling materials and waiting), turning once a month or even less frequently is fine. The key indicator is temperature: when the interior cools down after a hot phase, it is time to turn. Turning reintroduces oxygen and redistributes materials, which restarts the heating cycle.
Can I compost in the winter?
Yes, though decomposition slows dramatically in freezing temperatures. Continue adding materials through winter; they will freeze and then decompose rapidly when spring arrives. Insulate the pile with straw bales or a thick layer of leaves to help retain whatever heat the pile generates. In mild winter climates, the pile may continue to decompose slowly throughout the season. Some composters use a tumbler indoors (in a garage or shed) to continue composting year-round.
Why does my compost smell like vinegar?
A vinegar smell indicates anaerobic fermentation producing acetic acid. This happens when the pile is too wet and compacted, preventing oxygen from reaching the decomposing materials. The fix is the same as for other anaerobic conditions: turn the pile, add dry browns to absorb moisture and improve structure, and ensure the pile has adequate airflow. The vinegar smell should dissipate within a few days of correcting the conditions.
Is it okay to compost weeds?
It depends on the type of weed and the temperature of your pile. Annual weeds that have not gone to seed can be composted safely. Perennial weeds with invasive root systems (like bindweed, quackgrass, or Japanese knotweed) should be dried completely or solarized before composting, as small root fragments can survive and spread. Weeds that have gone to seed should only be composted in hot piles that consistently reach 140 degrees Fahrenheit or higher, which kills the seeds. If your pile does not get that hot, dispose of seeded weeds through municipal green waste programs instead.
How do I know when my compost is finished?
Finished compost is dark brown to black, crumbles easily in your hand, has a pleasant earthy smell, and bears no resemblance to the original materials. You should not be able to identify individual food scraps or plant materials. The pile will have shrunk to roughly one-third of its original volume. A final test: fill a pot with the compost and plant a few bean seeds. If they germinate and grow vigorously without burning or stunting, the compost is ready for the garden. If the compost is still warm or has identifiable chunks, give it more time or screen it through a half-inch mesh to separate unfinished material for continued composting.